
Creating the Scheduled Order
Wow. Wow. and Wow. We’ve covered everything we need at this point, right?… Not yet! What’s the most important component to a Meal Box Subscription site? The Meal Box Subscription!! We’ve covered the Box Sizes and Delivery Schedules, the Customer Journey, and the Cart Requirements. The last step to tackle is Creating the Scheduled Order.
Box Sizes & Delivery Schedules
View Step 1 SummaryCustomer Journey
View Step 2 SummaryCart Requirements
View Step 3 SummaryCreating the Scheduled Order
View Step 4 SummaryWhen using a checkout, Autoship Cloud will automatically monitor WooCommerce orders for assigned schedules and when found it will auto-generate the necessary Scheduled Orders based on that order. What if we don’t need our customers to actually be charged in a checkout and which if we have all the information normally gathered at checkout ( like we do in this case! )? No problem, Autoship Cloud and the QPilot API make creating Scheduled Orders, Meal Box Subscriptions in this example, extremely easy, so much so it can be done with a Shortcode, a button, and even a link in an email! ( what a marketers dream! ).
Creating the Scheduled Order
Create Scheduled Order Function
Now that we’ve setup the WooCommerce settings to point all checkout buttons / links to our Order page, we’re now going to start the real work by creating the function that actually converts the cart into a Scheduled Order. Start by creating a new xx_create_scheduled_order_from_cart() function ( which doesn’t take any arguments ). This functions going to construct an array containing the data needed to create a basic Scheduled Order via the QPilot API.
The QPilot API can be used to create a Scheduled Order with as little as a Schedule and a customer id, though what would be the point of all this just to create an empty schedule? ( Read more about the flexibility of the QPilot API in the API documentation here ) The information needed that we’ll be gathering for our Fresh Box includes the following:
- status: The Default Scheduled Order’s Status.
- origin: Where did this order originate from.
- originalExternalId: The Original WC Checkout Order.
- customerId: The current User’s ID
- scheduledOrderItems: The Scheduled Meals
- scheduledOrderItems > productId: The Scheduled Meal’s Product ID
- scheduledOrderItems > quantity: The Quantity for the Meal
- frequency_type: The Scheduled Time for the Box ( i.e. Months, Weeks, Days, etc. )
- frequency: The Scheduled Interval for the Box ( i.e. 1, 2, 12, 60, etc. )
- paymentMethod: The Saved Payment Information for this Box
- metadata: An array of custom data to pass on ( i.e. Plan )
In our new function we’re going to start by gathering the ‘status’, ‘origin’, ‘originalExternalId’, and ‘customerId’. We’re going to use the Autoship Cloud autoship_get_scheduled_order_default_status() library function to retrieve the default ‘status’. The function takes a WC Order id or 0 ( if there is no WC Order ) as an argument. Next we’re going to set the ‘origin’ to ‘CustomerApi’, ( since we’re manually creating the Scheduled Order via the QPilot API ), the ‘originalExternalId’ to NULL ( since the Scheduled Order is not being generated from a WooCommerce Order ), and the ‘customerId’ to the current User’s ID using WordPress’ get_current_user_id() function.
The next step in our new function will be to gather the Scheduled Order Items ( i.e. the meals in our box ) for the scheduledOrderItems array. Start by retrieving the current cart’s contents using the WooCommerce WC()->cart->get_cart() method which returns the contents of the cart in an array. Next loop through the array of cart items adding a record to our scheduledOrderItems array for each item, setting the productId to the current cart items WC Product ID ( or Variation ID for variations ) and the quantity to the current cart items’ quantity.
We’re going to now retrieve the current Scheduled Assigned to the Box and add that to our Scheduled Order data so that the frequency_type and frequency will be set to the Schedule selected by the customer. To retrieve the current Schedule assigned to our Fresh Box we’re going to use our xx_get_fresh_box_schedule() function, passing it the current user’s id and true as arguments so that the schedule is returned as an array.
Next we’re going to add the payment method to our Scheduled Order data and to do this we’re going to first retrieve the payment method info assigned to the current Fresh Box ( i.e. the payment method id and type ) using our xx_get_fresh_box_payment_method() function. Once we have that info we’re going to use Autoship Cloud’s autoship_get_general_payment_method_data() function to get the rest of the payment method data by passing it the payment method id and token type as arguments and then adding the returned data to the Scheduled Order info’s paymentMethod record.
The last bit of data we’re going to gather before we create the Scheduled Order is going to be some optional metadata, specifically we’re going to add the plan assigned this box to our Scheduled Order’s metadata so that we can use that info on the WC Orders and in the customer’s My Account screen after the Scheduled Order has been created. Autoship Cloud comes with a customer facing Scheduled Order management dashboard baked right in. Unlike almost any other solution out there, after customers sign up and created their meal box subscription, they can login, go to the My Account > Scheduled Orders ( or whatever you’ve decided to label it ) and add more meals ( if you let them ), create more scheduled orders or boxes ( again if you let them ) and a host of other features…things not even the big named meal subscription companies out there can do. The Autoship Cloud customer dashboard, just like everything else WordPress, can be customized to fit almost any need…even a Meal Subscription site! We’ll need to know how many meals this Fresh Box requires when we let our customers adjust their box after the Scheduled Order’s been created. That’s where the Scheduled Order metadata comes in. Scheduled Order metadata is an optional array and can be passed any information you like which is helpful when tracking things like attribution and in our case Fresh Box size/plan. We’re going to add this Fresh Box’s plan by adding a new ‘xx_fresh_plan’ key set to the returned value of our
We’ve now gathered all the required data needed ( and some optional info ) to create a Scheduled Order using the QPilot API. Typically, making an API call requires connecting the API endpoint, authenticating, creating the HTTP or cURL call, sending the data and processing the results. Good News! The Autoship Cloud library comes pre-build with a function that does all this for us. We’re going to create our Scheduled Order by making a single call to the Autoship Cloud
The last part of our function will be to check for any errors that may have occurred when creating the Scheduled Order and, if the call was successful, some cleanup work. Since the Autoship Cloud
Creating the Scheduled Order
Process Order Actions
We’ve now created the function that converts the Fresh Box ( i.e. cart ) into a Scheduled Order and since we don’t have any more information to gather, we now just need to setup the trigger when a customer lands on our Order page. All we’re going to do is hook into the Order page and when a customer lands on it, create the Scheduled Order using the function we just created. Start by creating a new xx_schedule_cart_endpoint_wrapper() function ( which doesn’t take any arguments ) and add a new add_action() call with the action set to “wp” and our new function as the hooked function.
In our new function the first step is to confirm our customer is actually on the Order step of our journey, to do this we’re going to use our xx_is_customer_journey() function and pass it the slug to our Order page ( i.e. ‘order’ ) and if they are then we want to verify all the needed information to create a scheduled order has been entered. We’ll be creating the actual function to make these checks in a bit, so let’s just assume that the function will check that the customer has the needed information from each step and if they don’t redirects them to the appropriate step to complete. If that’s the case then all we need to do here is just make a single call to our future xx_redirect_router() function ( we’ll create and cover this function in more detail in a bit ).
We’ve confirmed our customer is on the Order step in our journey and has a valid Fresh Box so let’s schedule their order using our xx_create_scheduled_order_from_cart() function. As we mentioned earlier, Autoship Cloud comes with a customer facing Scheduled Order management dashboard baked right in which is why after creating the Scheduled Order using our function we’re going to redirect our customer to the My Account > Scheduled Orders screen so that they can see and manage their order. If our xx_create_scheduled_order_from_cart() function doesn’t return a WordPress error ( we’ll check this using WordPress’ is_wp_error() function ) we’re going to us Autoship Cloud’s autoship_get_scheduled_order_url() function along with WordPress’ wp_redirect() function to redirect the user. Autoship Cloud’s autoship_get_scheduled_order_url() function takes a Scheduled Order id as an argument and sends back the URL to that order in the customer’s My Account Scheduled Order management dashboard.
Final Touches
Stylize, New Mini Cart, and Other polishing touches
As with all projects, the last step before stamping the creation completed is to apply the final polished touches. This project is no different, while we didn’t go through all the polishing touches ( hey we all have our own opinions about UI/UX right? ) we will briefly touch on what we’ve decided to add to give that final presentation. How you decide to stylize the Shop, create the mini-cart and drive the UI for your Meal Subscription site will depend on your own branding and business. Hopefully, what we’ve done can provide you with some inspiration and we’re excited to see what you come up with!
Final Touches
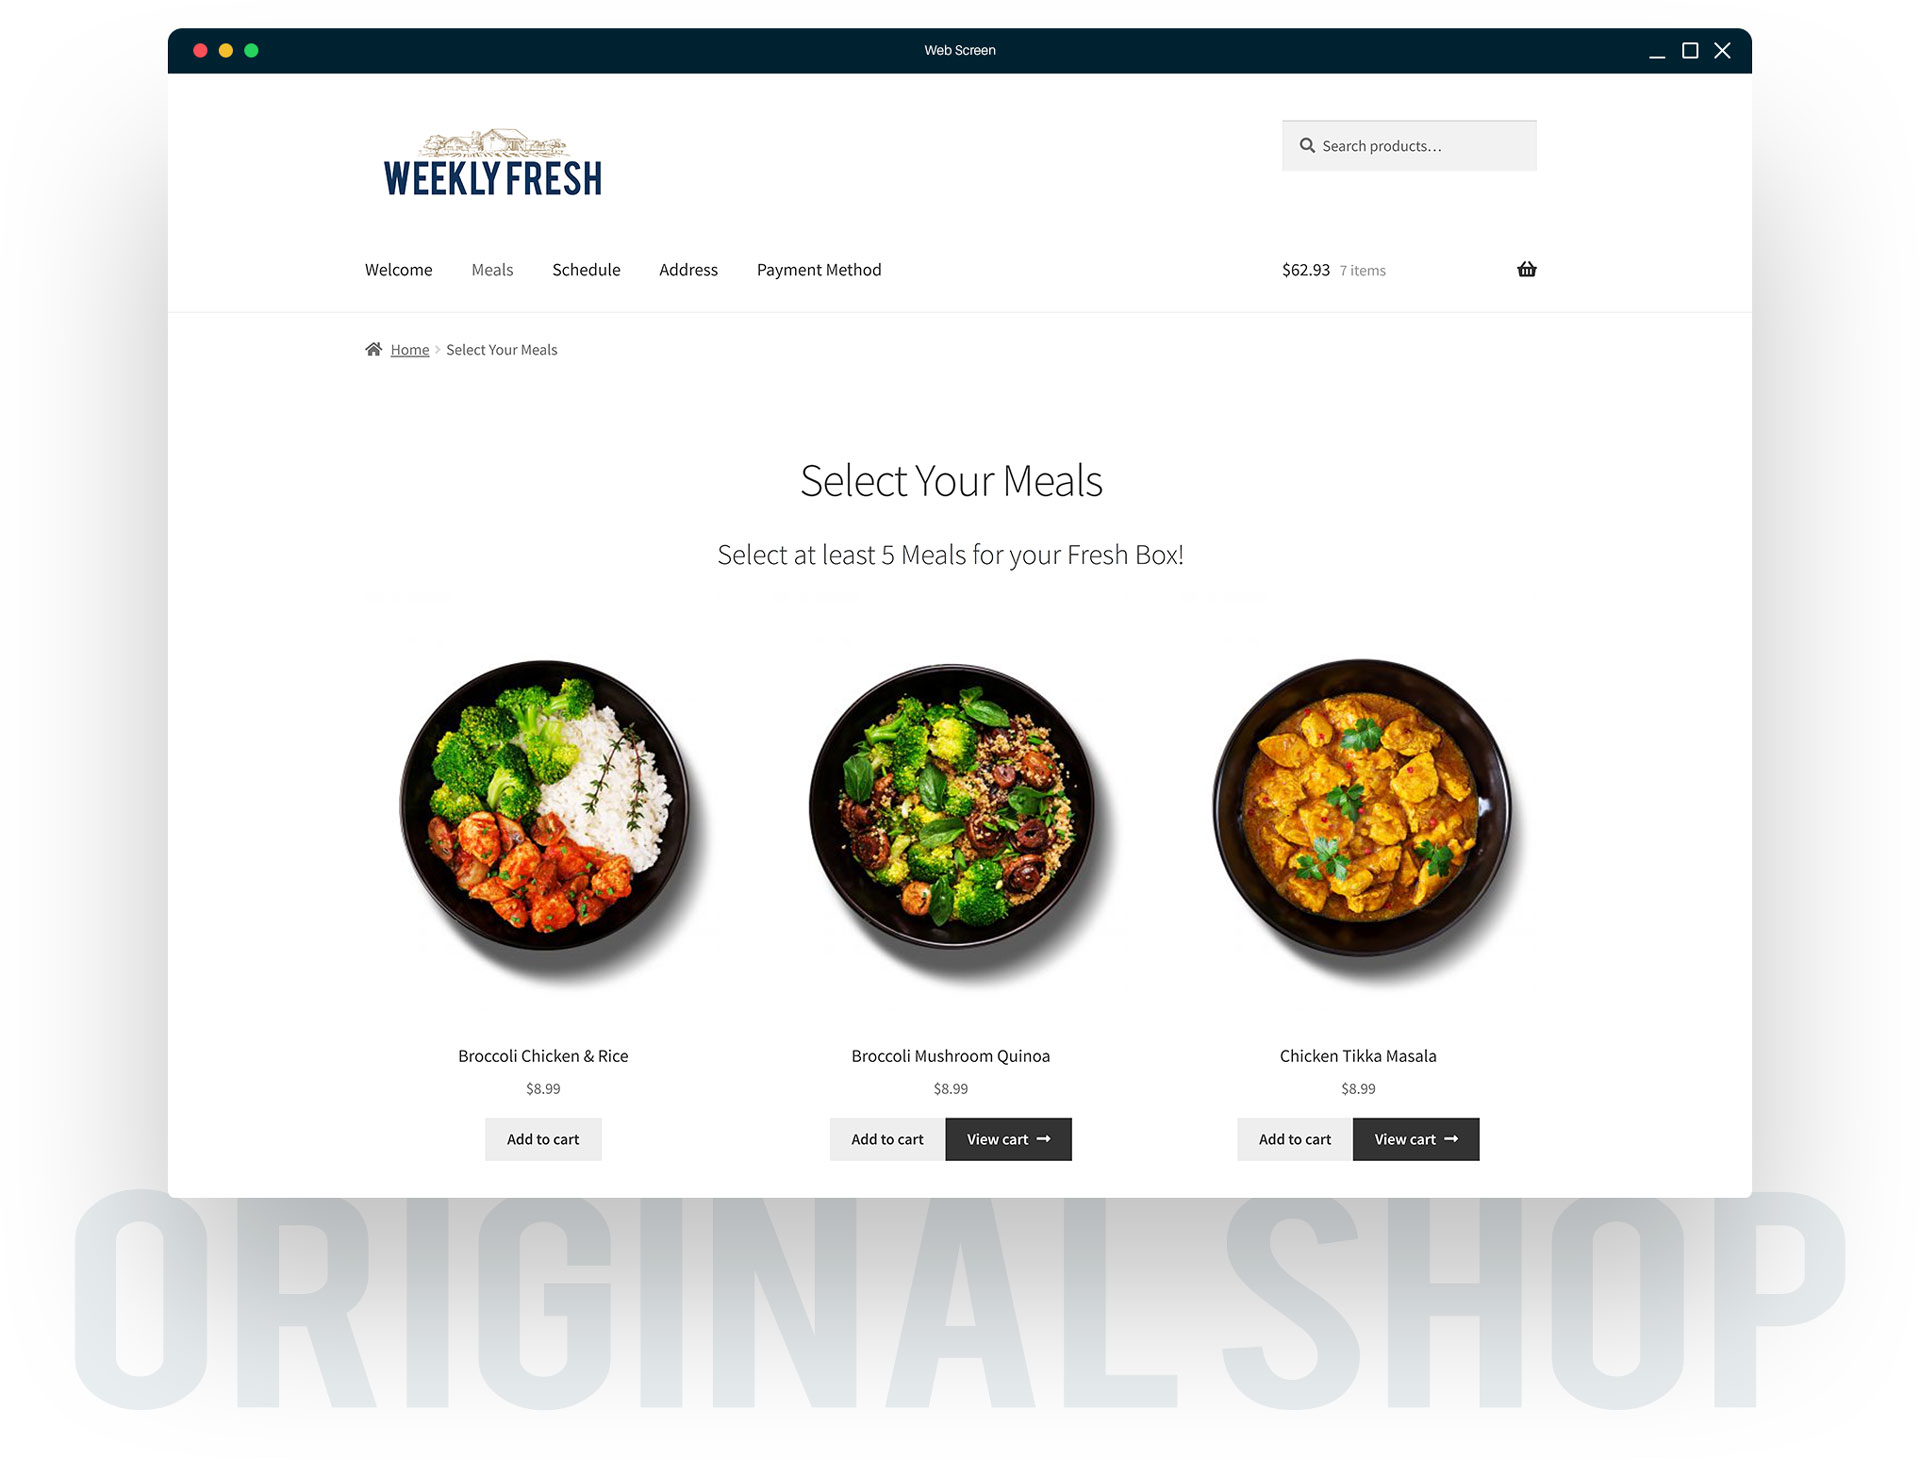
WooCommerce Shop Page
Final Touches
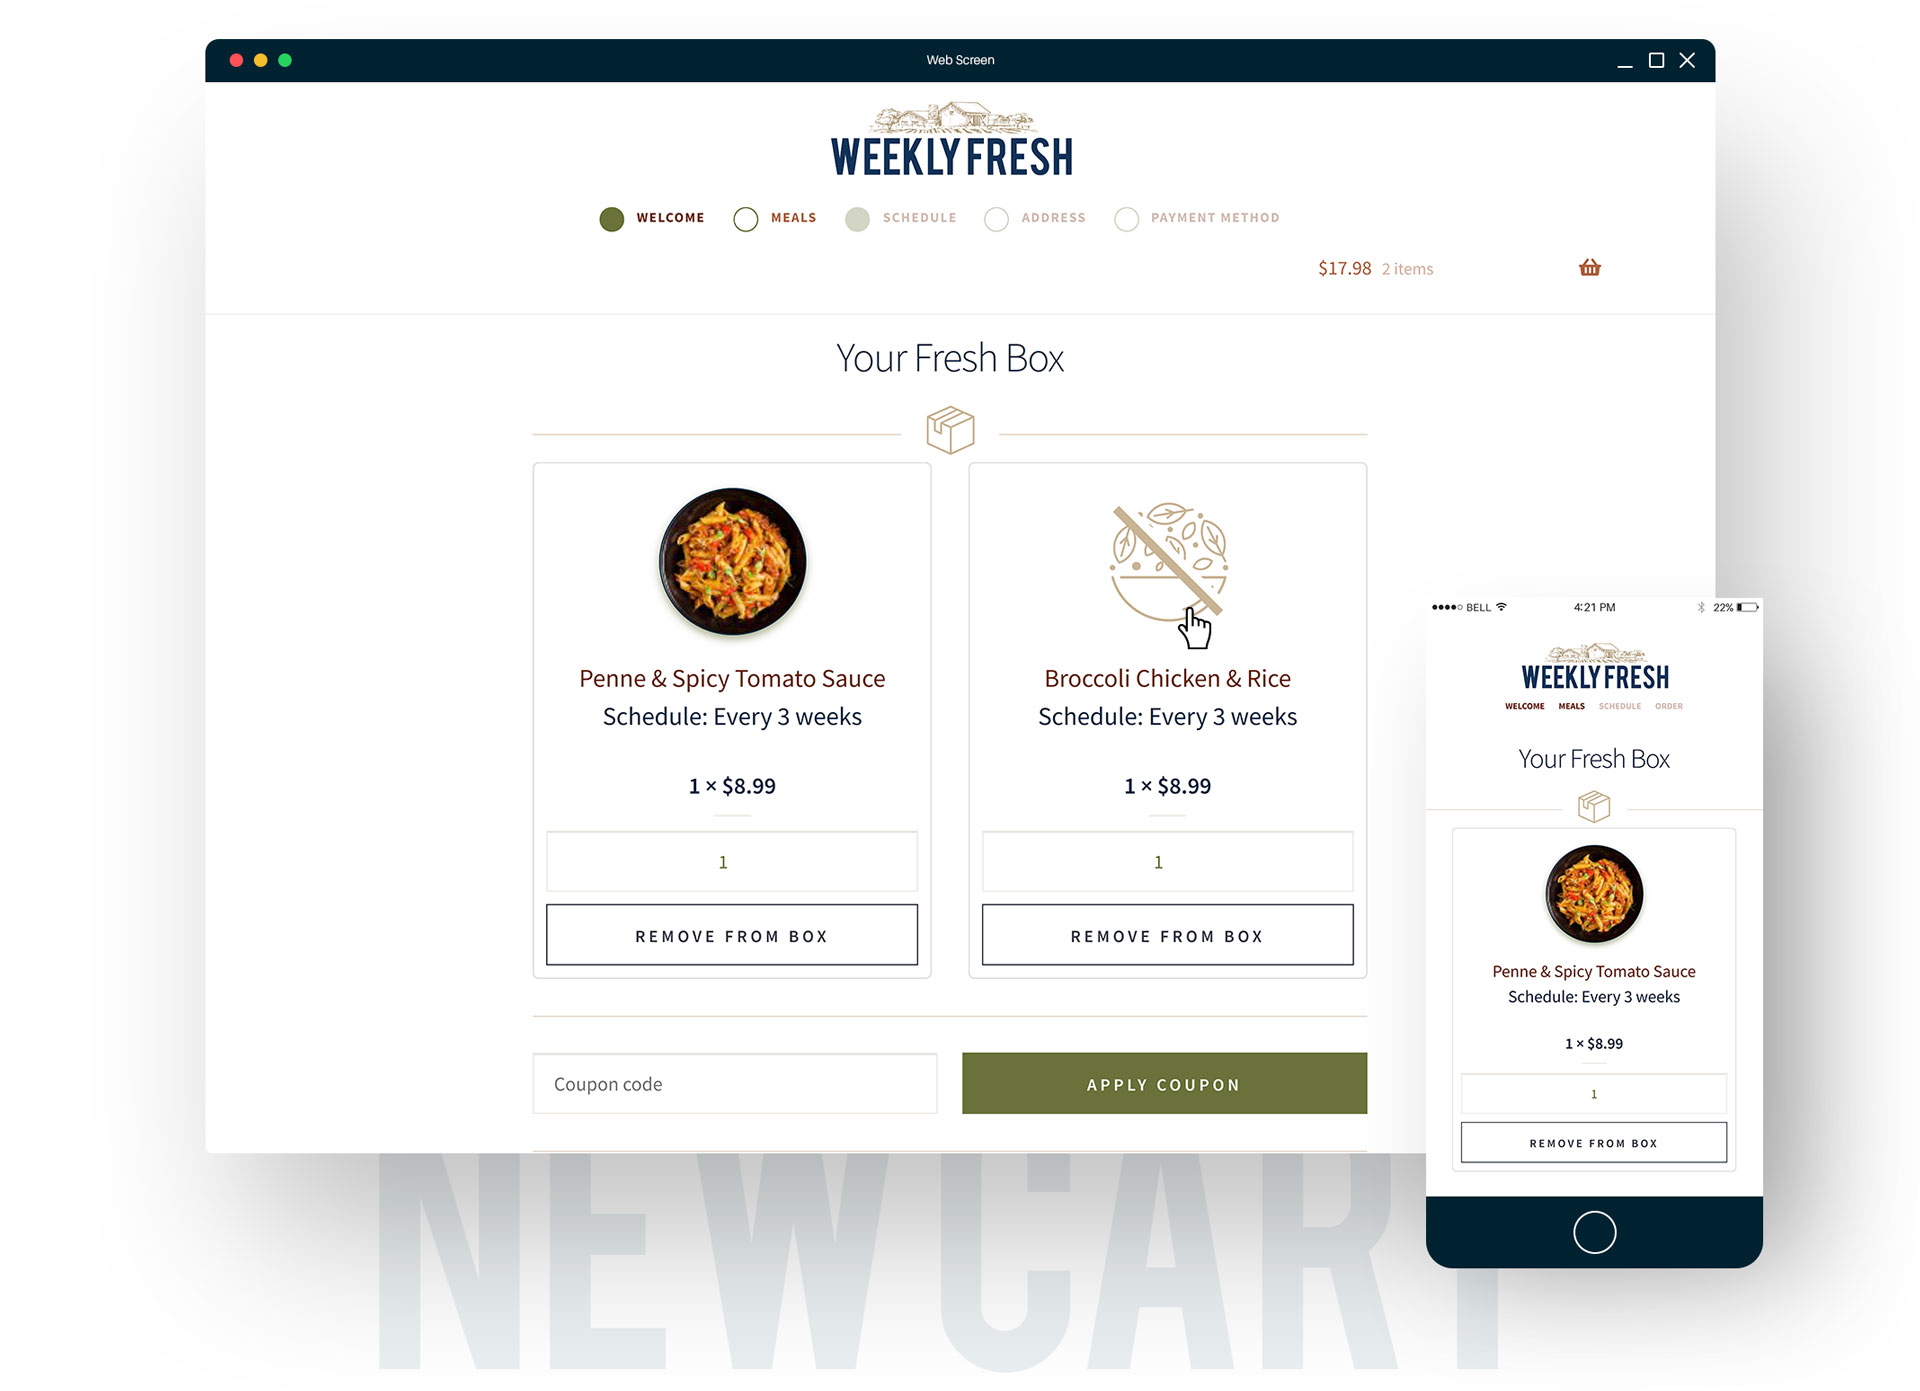
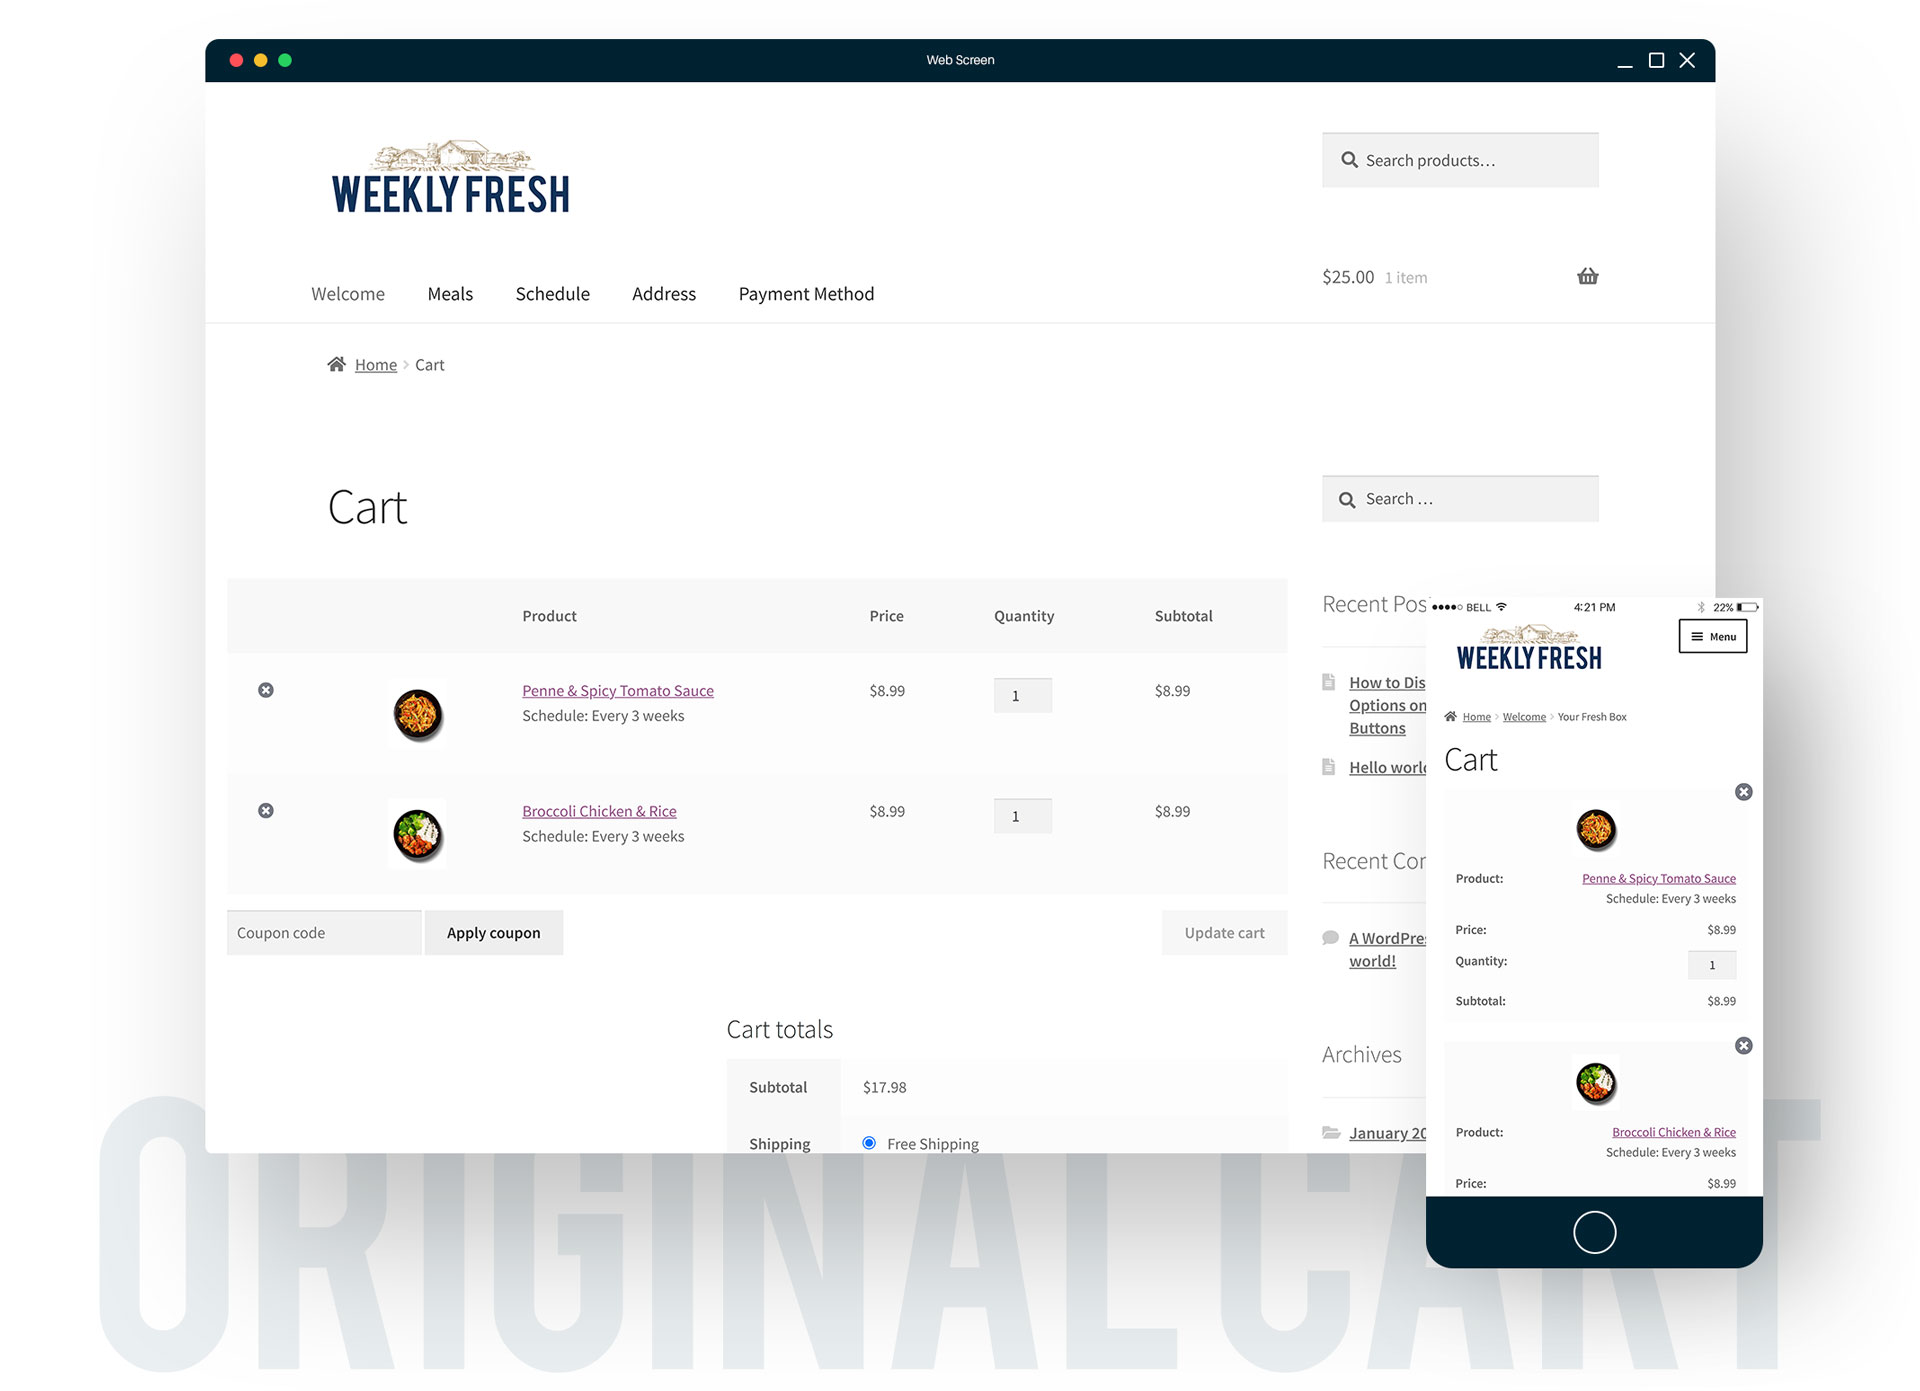
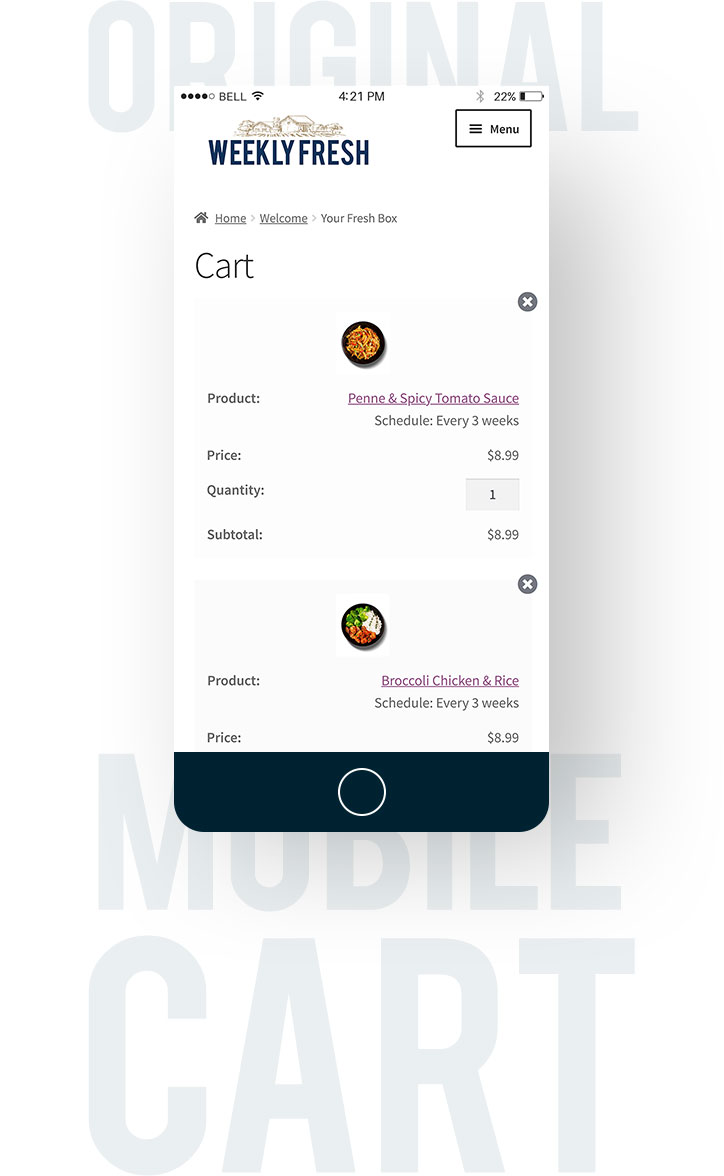
WooCommerce Cart
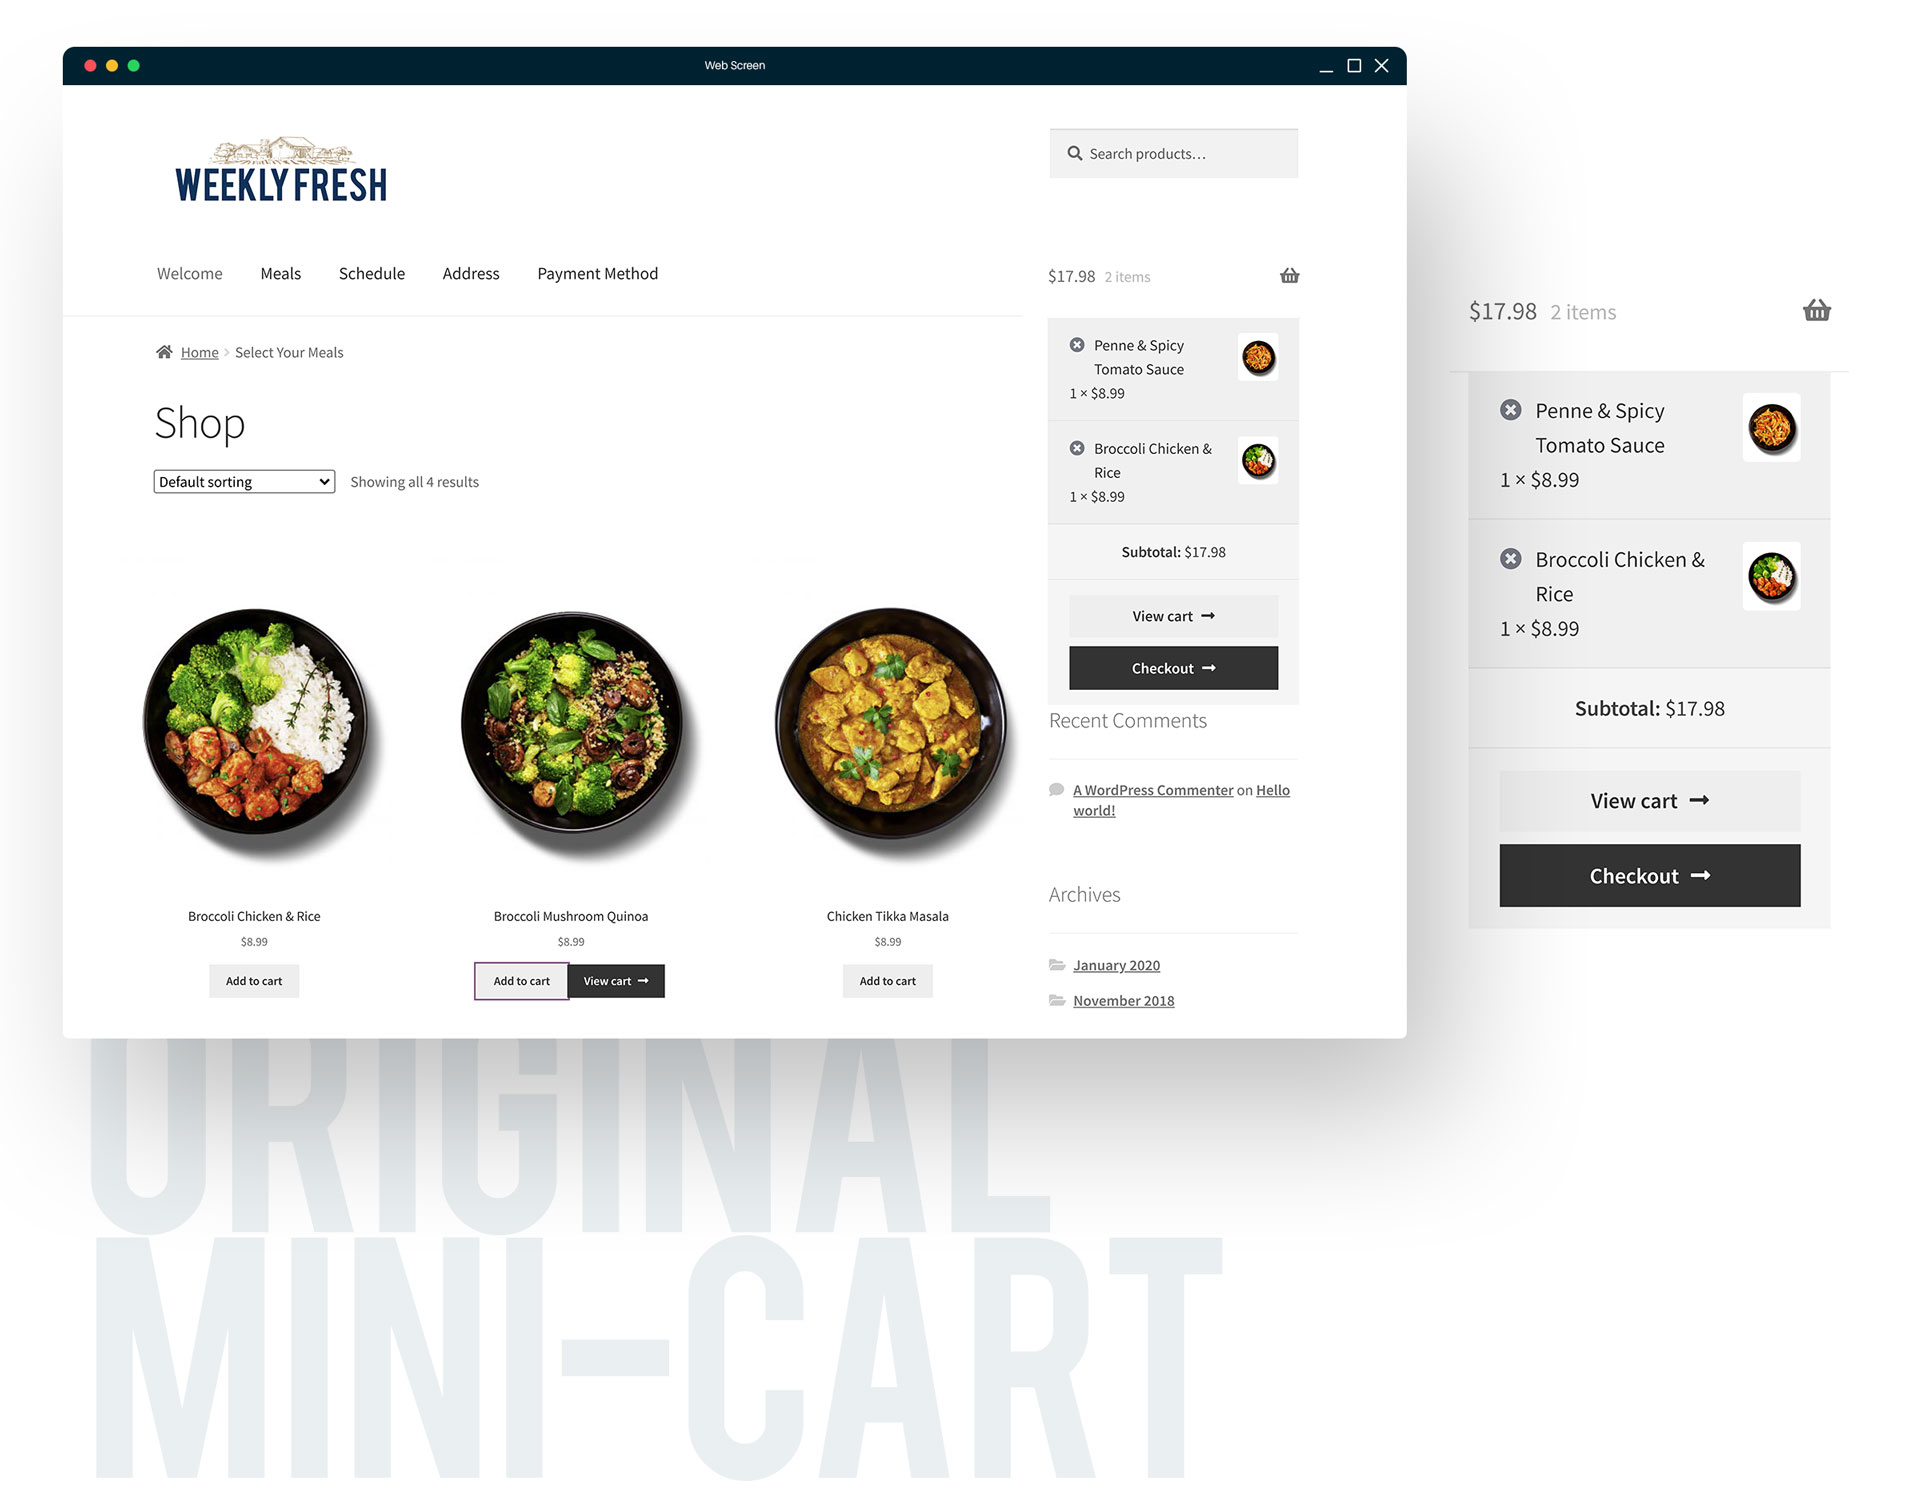
Final Touches
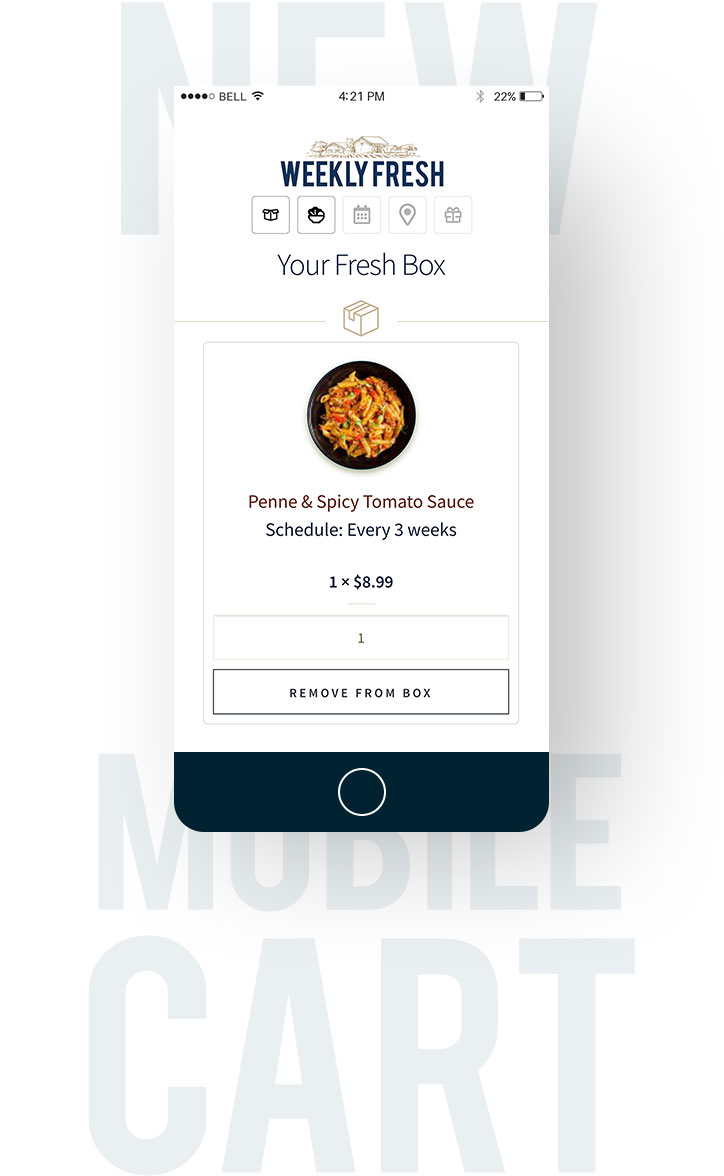
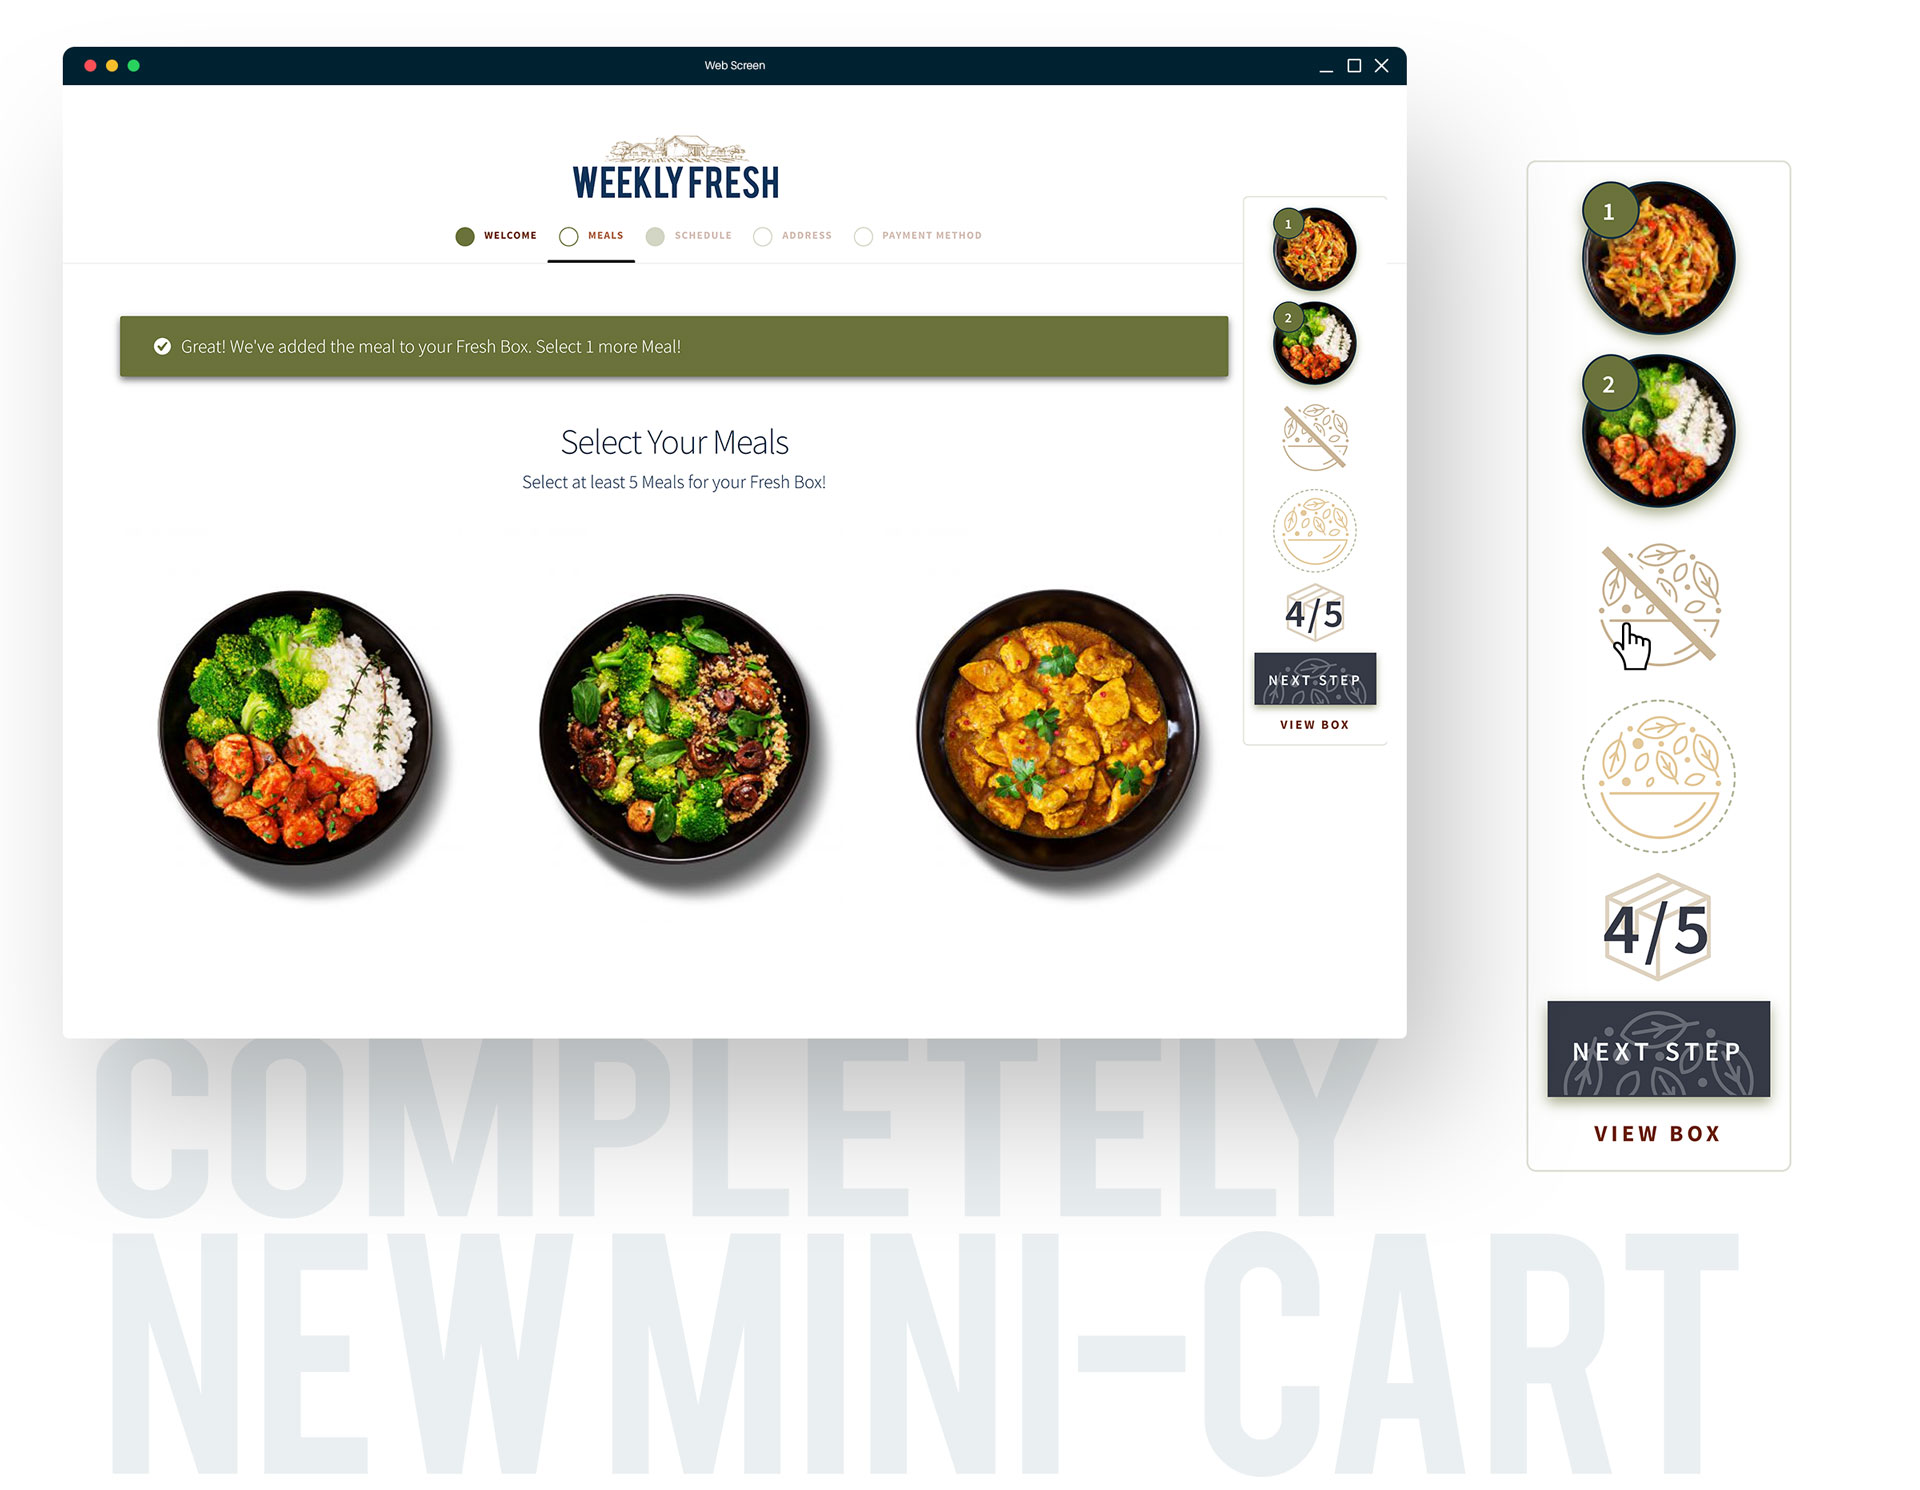
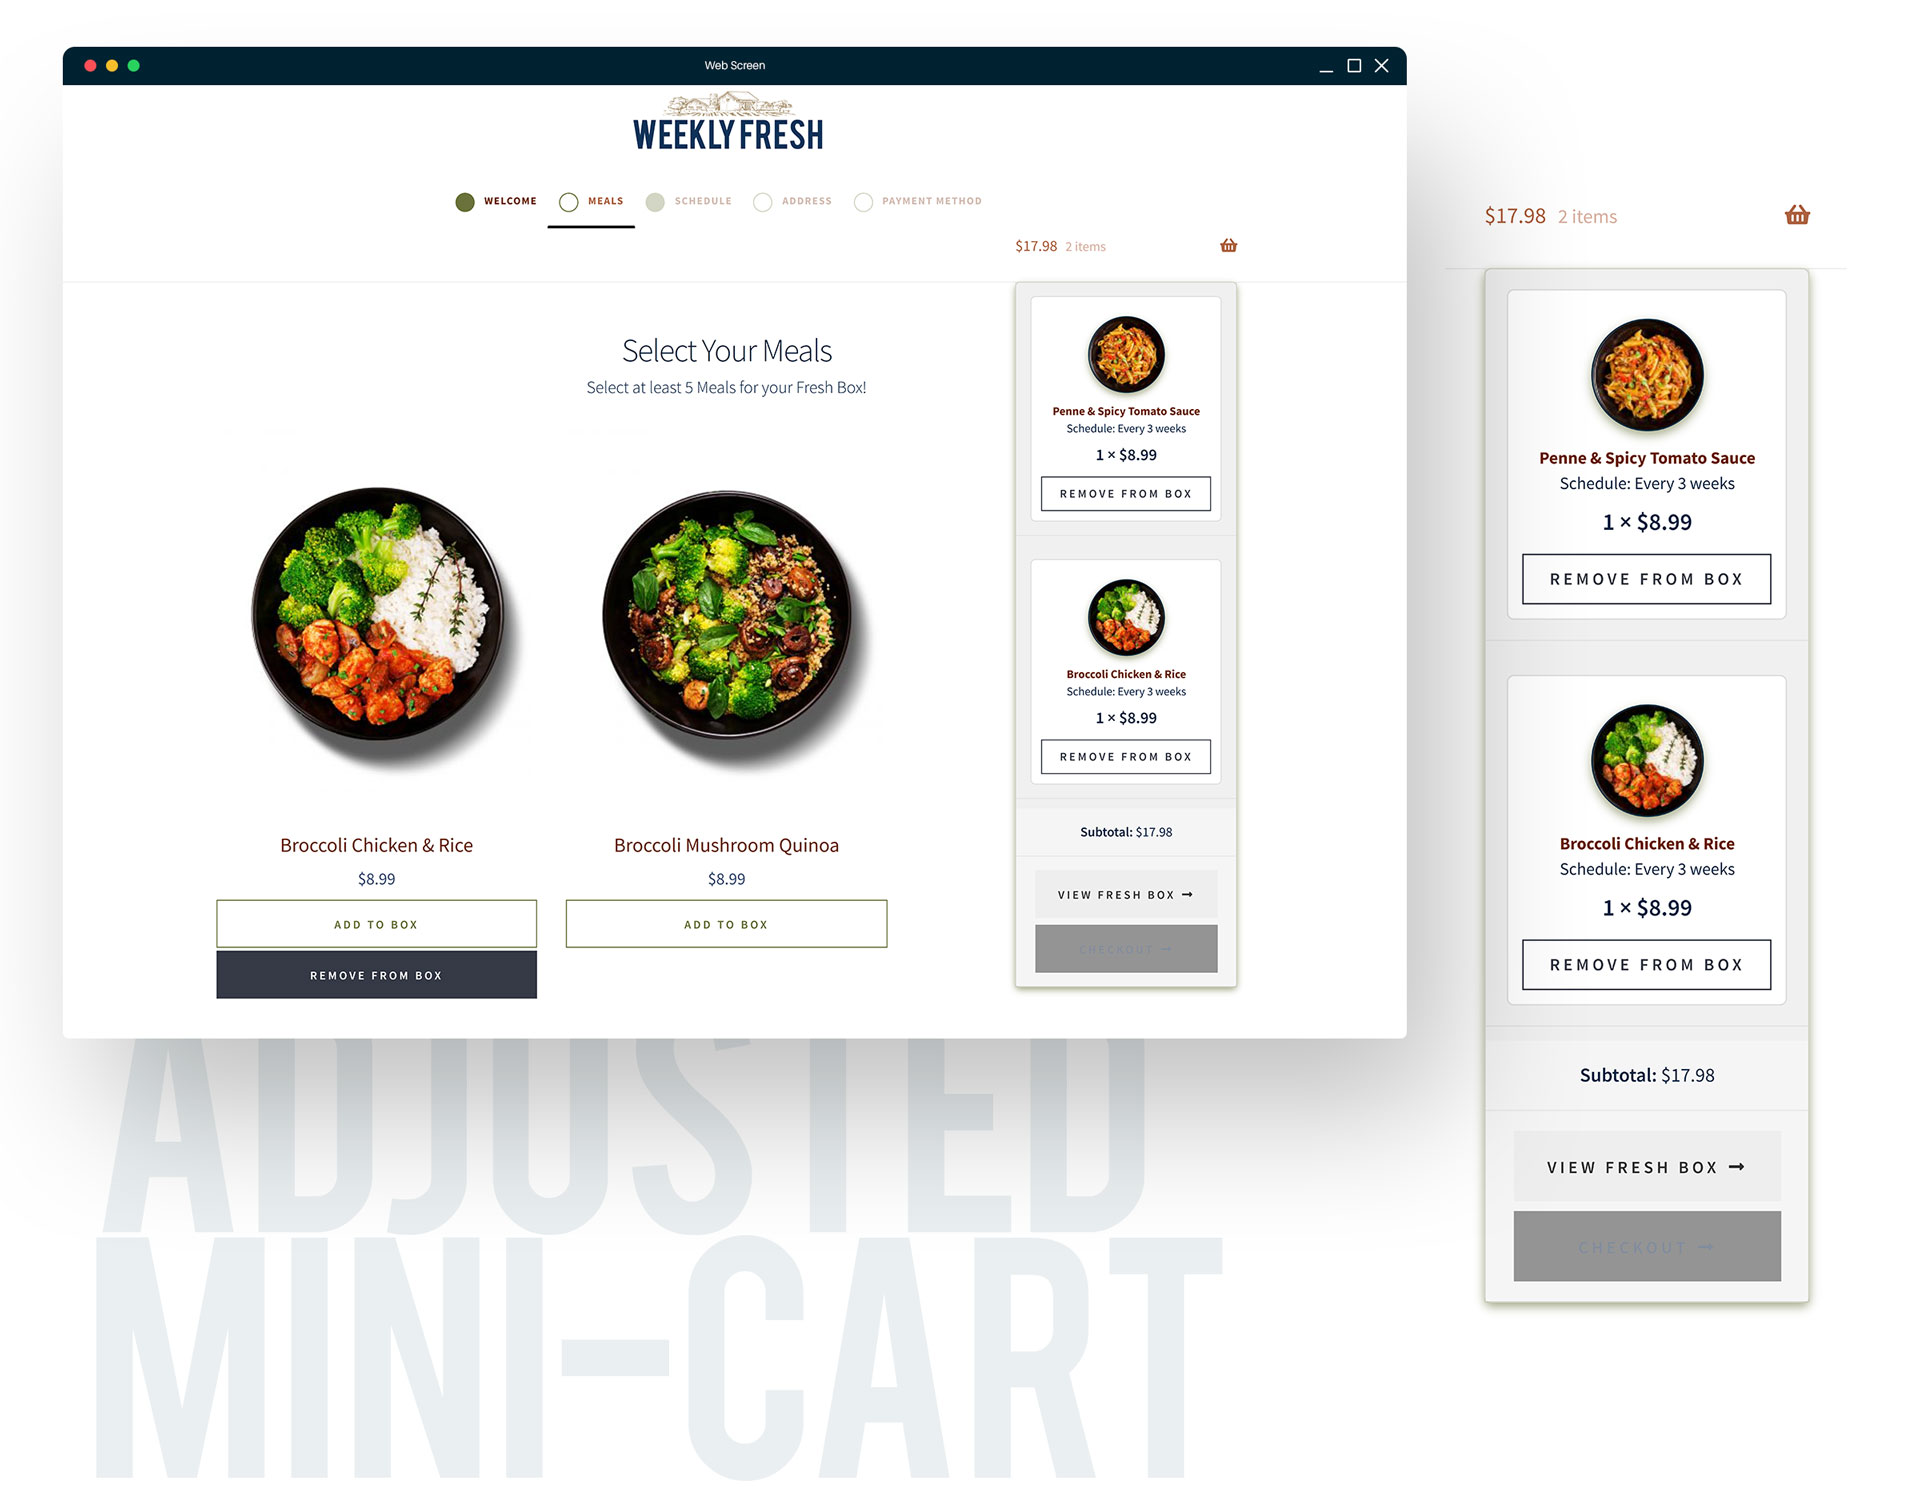
WooCommerce Mini-Cart
Final Thoughts
Conclusion
We’ve now walked through how to take WordPress, WooCommerce, and Autoship Cloud and create a Meal Subscription site, and not just any Meal Subscription site but one that doesn’t even need to use a checkout! We’ve covered everything from Plan Creation and Tracking, to Cart Validation, Scheduling, Address entry, saving and assigning payment methods, Customer Journey Control, and even Scheduled Order creation… everything a delishiously yummy Meal Box Delivery site offers, and even some thing they don’t.
Really want your Site to Stand Out?
One feature that truly makes Autoship Cloud powered by QPilot even more powerful and flexible than most of the other solutions on the market is that it comes pre-built with the ability for customers to not only edit their Scheduled Order’s delivery schedule, payment method, coupons, and addresses after they’ve been placed but also the products included in their order… Yep, that’s right!
Want to offer your Meal Box Subscribers a way to edit their meals on a weekly basis? Click below to learn how!