Do you sell consumable products on a repeat basis? Or maybe run a school or gym that manages meal plans? If you want to create or sell this type of product, you might be wondering what the best and easiest way to get them distributed to your consumers is.
Meal planning is an essential component of a healthy lifestyle. Whether someone is trying to lose weight or simply wants to eat ‘better,’ meal plans can help people stick to a specific diet and plan ahead more efficiently, avoiding the much dreaded ‘eating on the fly’ issue. Lately, also, we have seen many companies implement successful subscription-based models to promote and sell various products.
If you want to offer meal plans online, you can benefit from a system that can allow you to simply configure the type and number of meals and the days you want to deliver them to your customers.
Did you know there’s actually an easy way to auto-populate the correct values, so you don’t have to worry about managing the meal plans yourself? In fact, some WordPress plugins can handle the entire meal plan lifecycle automatically while offering customers an unmatched number of personalized options.
All you need to do is to set up a WooCommerce website and install Autoship Cloud. This article will explain how you can do precisely this – plus everything you need to know to make your meal plan subscription store a success.
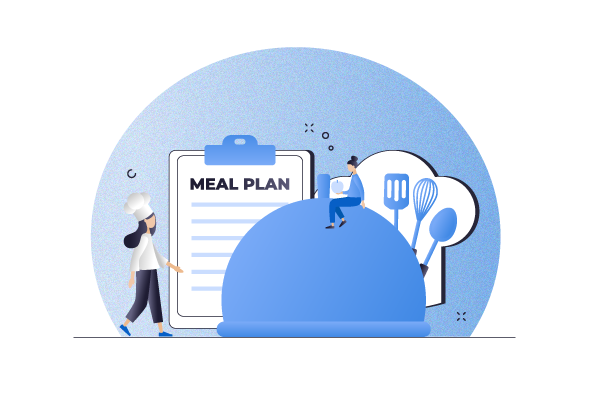
What Are Meal Plans, and How Do They Work on a Website?
Meal planning is the process of mapping out types and amounts of food according to a specific person’s nutritional needs and preferences. For example, you can plan your nutrition to support weight loss or improve your cholesterol. While preparing meals in advance can just mean going to the grocery store once a week and buying everything you ended to create a menu, a meal plan tends to be more individualized and does not take into account your schedule for cooking the food.
If you are an online food store or restaurant, you can now easily offer your food products on a subscription basis as a meal plan. This business model has become quite popular in the last few years, with companies providing recipes, fresh ingredients, and complete meals that can get delivered directly to your door. All the customers need to do is choose the frequency of these deliveries, and pick a payment method.
Whether you want to set up a meal plan subscription as a business or as part of an organization or club, you might want to consider using an eCommerce platform to take care of all management. WooCommerce is the most popular eCommerce solution.
Yet, if you want to create a WooCommerce meal plan, you might be surprised to learn that this solution does not have built-in functionality for subscriptions that you can use for meal planning. Fortunately, there’s an easy add-on that can empower your meal plan business: Autoship Cloud!
How to Create and Sell Meal Plans Using Autoship Cloud
The Autoship Cloud plugin powered by QPilot is a subscription plugin for physical goods that enables you to create scheduled orders without having to edit any code or change your existing WooCommerce checkout process. It also offers powerful features like conditional logic, coupons, discounts, etc., with a simple upsell option that you can apply to any product to make it a subscription.
Installing Autoship Cloud
Installing and using Autoship Cloud is very easy. To install the plugin, go to the Plugins page and search for “Autoship”. Locate the plugin and click on “Install Now”. Don’t forget to activate it, too. You can also download Autoship and upload it to your website using “WP-Admin > Plugins > Add New” (again, don’t forget to activate it!).
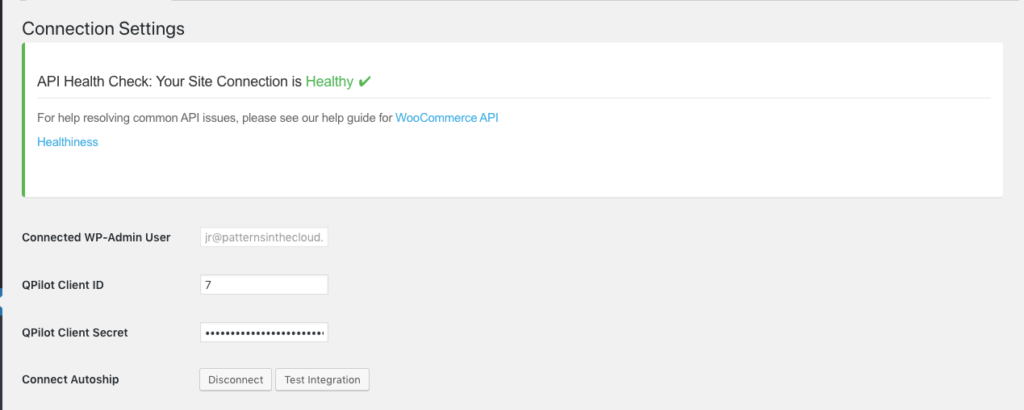
The next step is to connect the plugin to the WooCommerce API. Navigate to the QPIlot Merchant site and complete the registration process.
Then, create a new integration by going to “My Account > Apps > WooCommerce” and clicking on “Connect”. You will need to generate a new key.
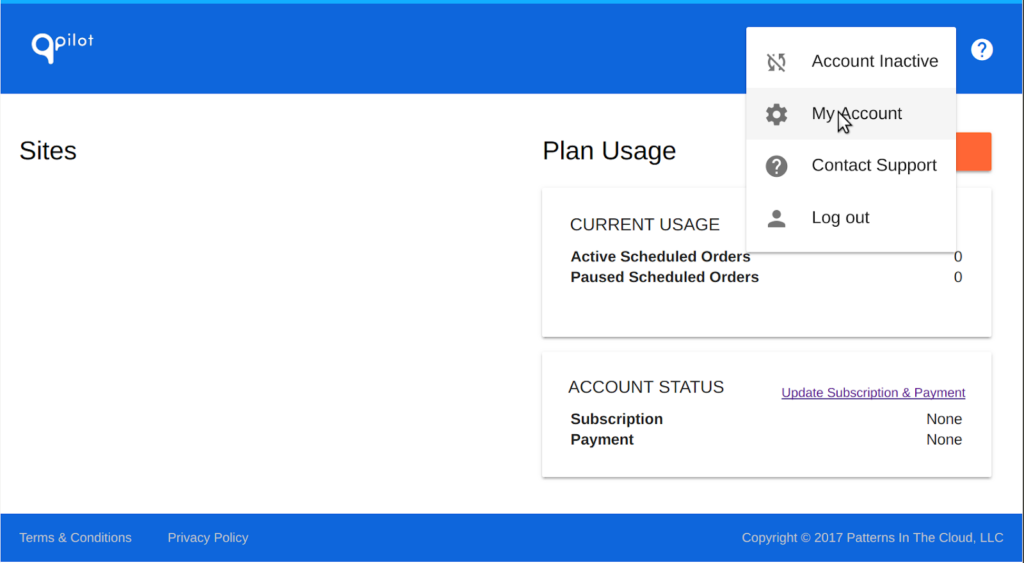

With your Client ID and Client Secret securely written down, go back to your WP Admin Dashboard and go to the “Autoship Cloud > Settings” tab.
Enter your ID and Secret, click on “Update”, and then “Connect”. Log in to your QPIlot account, grant access to your site, and you’ll be ready to start setting up products!
Benefits of Using Autoship Cloud for your WooCommerce Meal Plan
One of the most significant advantages of using Autoship Cloud to configure the scheduled orders of your WooCommerce meal plan business is that you don’t need to edit any code or change your existing checkout process! However, there are several other benefits to using this tool. Just to name a few:
- Upsell More Easily: The plugin makes it extremely easy to convert shoppers into subscribers. All you need to do is to enable Autoship on any existing product you offer, and your orders will automatically support scheduling.
- Extend Subscriptions: With Autoship Cloud, you can offer scheduled options within the cart tool. For example, customers can subscribe to a product and receive it every one, two, three, four, or five months.
- Configure Box Sizes: Autoship Cloud allows you to set up box sizes and delivery schedules for all your products. You will need a bit of coding, but we will guide you through everything required.
- Offer Auto-Service: Your customers can use a quick and easy calendar to manage their own orders, including the frequency in which they want to receive the meal plans, payment methods, addresses, and more.
- Make Admin Easier: With Autoship, you can create and edit scheduled orders straight from the WordPress Admin dashboard.
- Offer discounts and coupons: Autoship Cloud allows you to set up special promotions such as discounts and coupons, all from the same easy-to-use platform. These can play a significant role in improving your customer journey and experience, and the best part is: They are all handled by the platform!
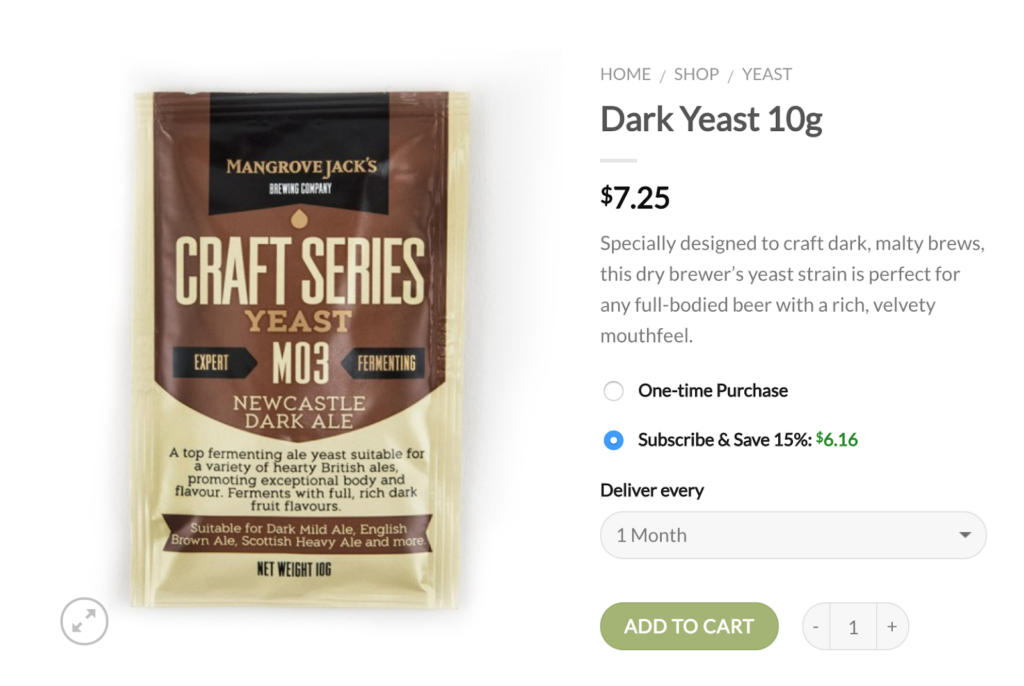
Image Alt: An example of an Autoship’s product page displaying different prices (source)
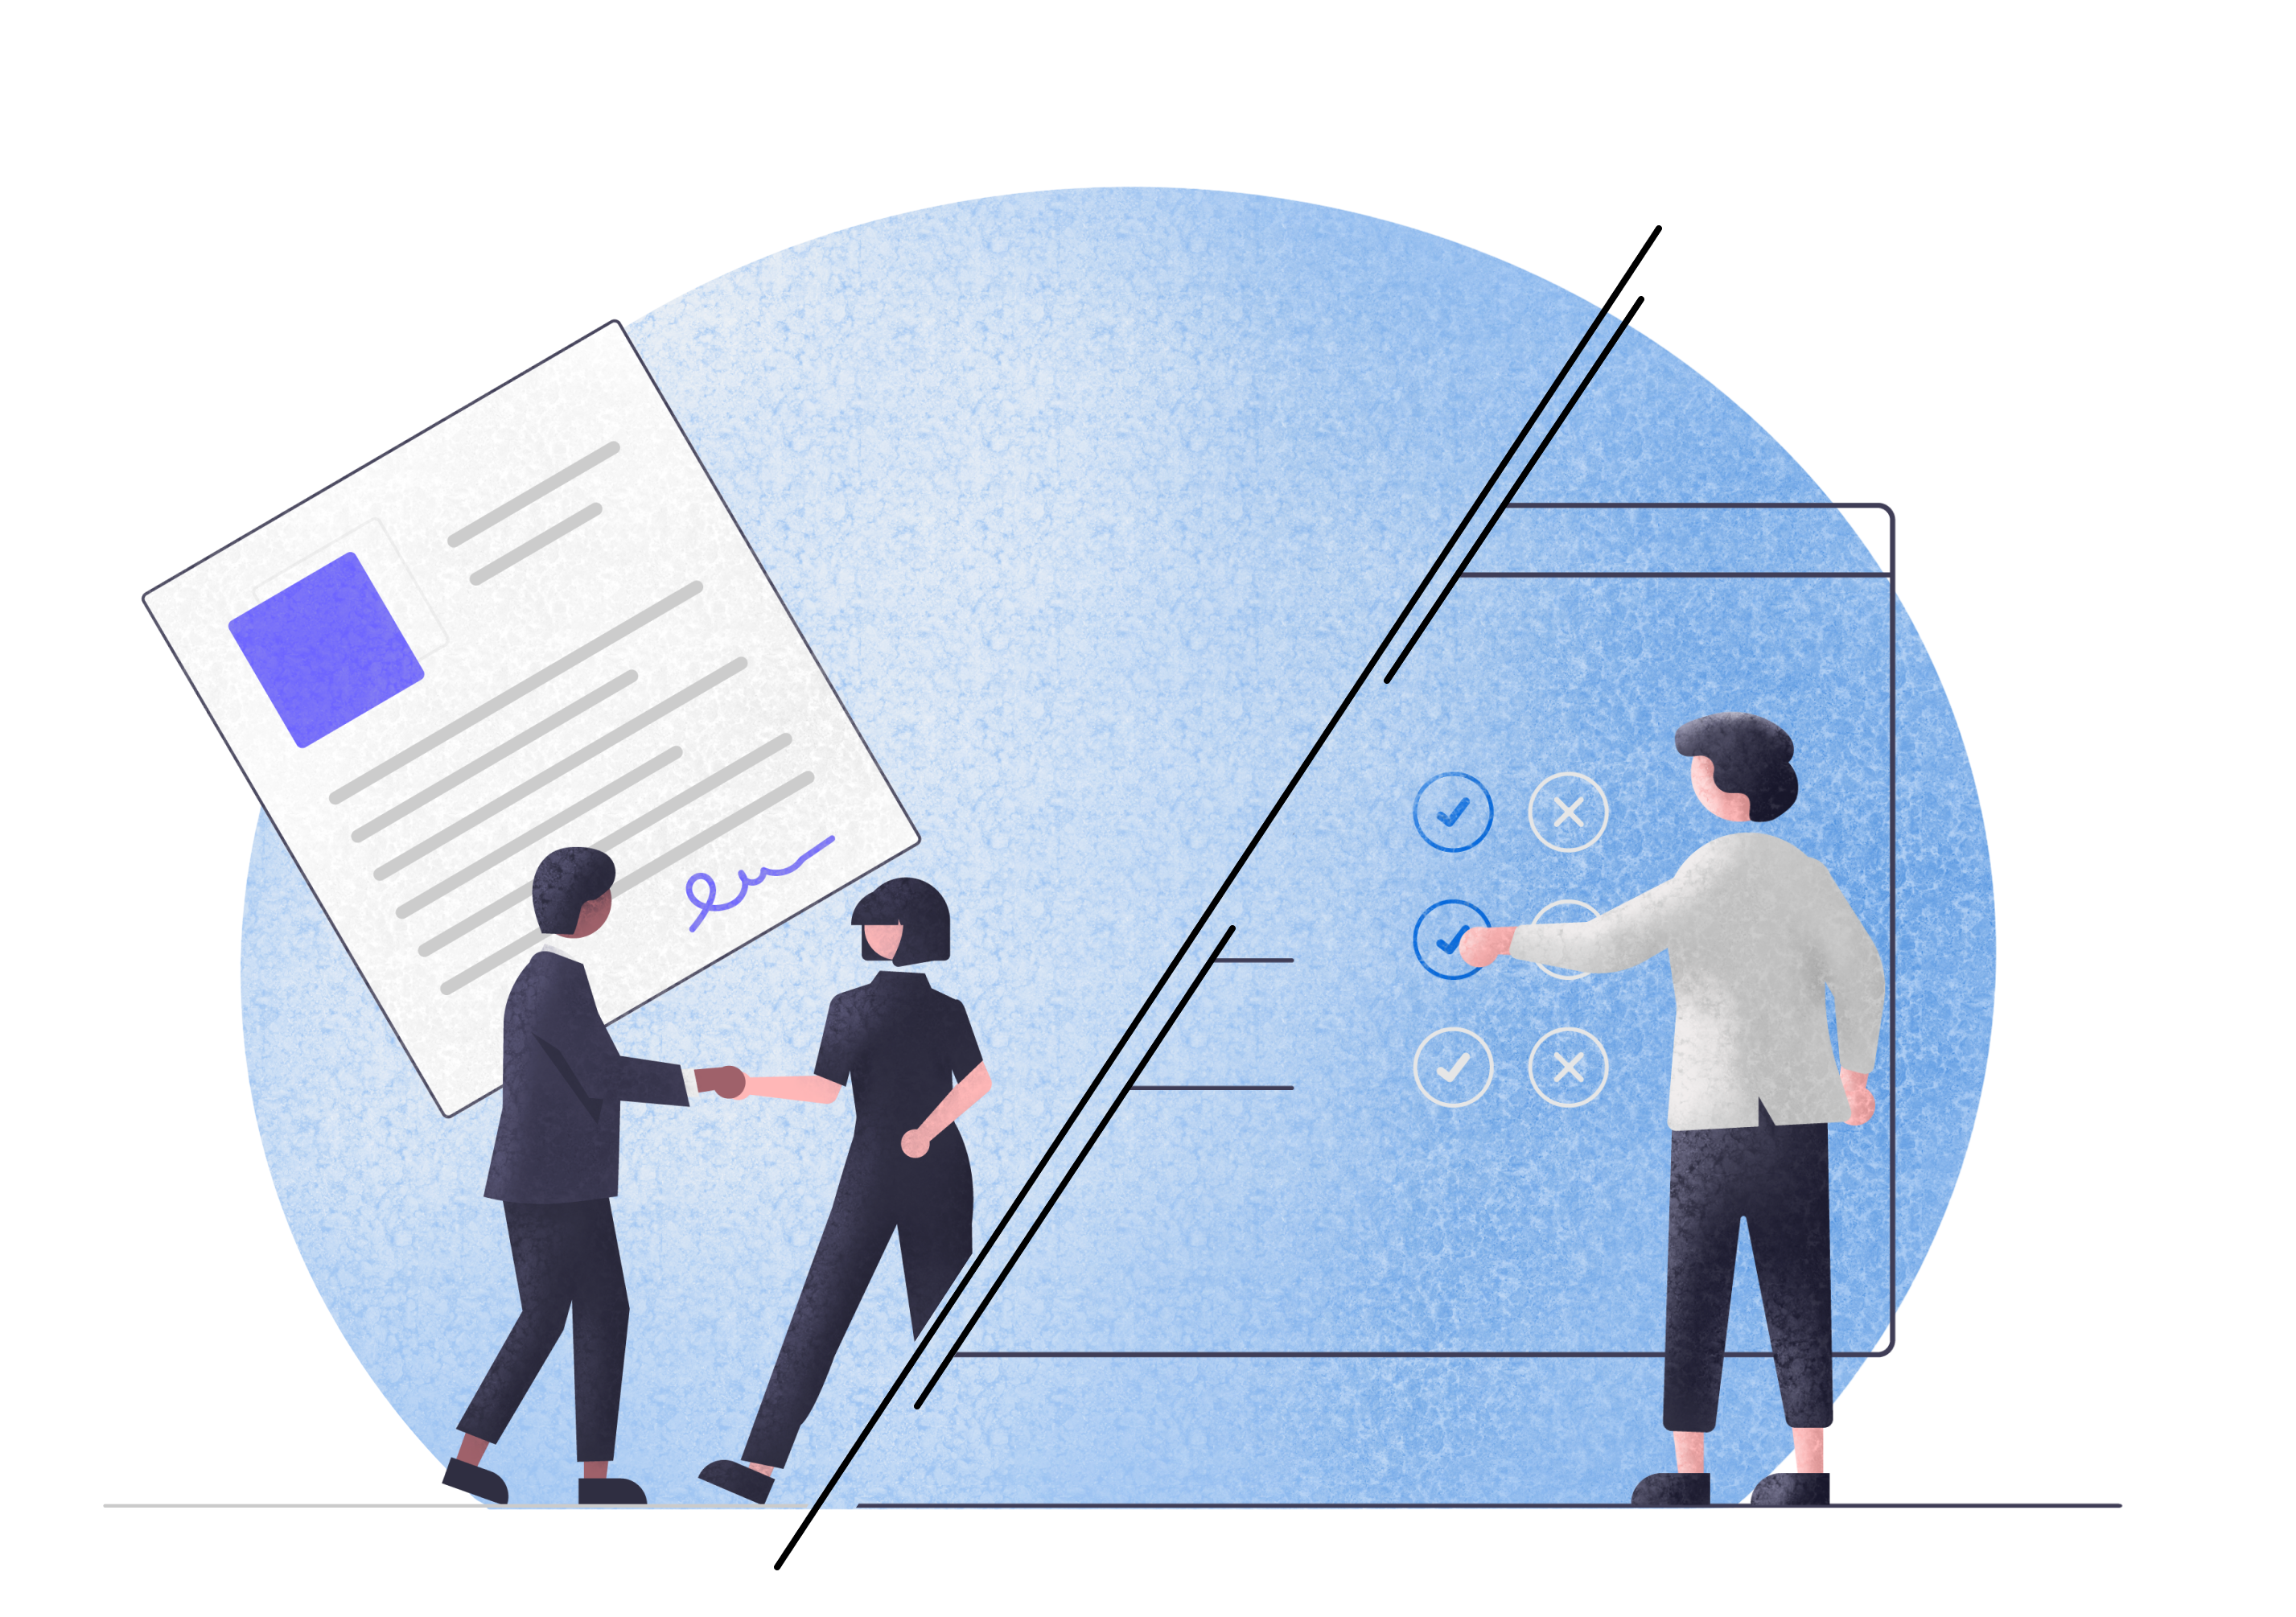
Best Practices for Using Autoship Cloud
Autoship Cloud can be the perfect companion for your WooCommerce meal plan. But how can you make the best out of these platforms to promote and grow your business? Let’s look at some best practices, tips, and tricks to help you make the most of your nutritional eCommerce site.
Adding Relevant Nutritional Details for Products
Adding nutritional data to your products will give your customers more peace of mind. An easy way to do this for your meals is to use a nutritional database. These usually allow you to enter an ingredient and serving size and calculate the facts automatically. Make sure you then copy the data into your Autoship-enabled products so they are available to all visitors.
Grouping Relevant Products Together
You can group orders using, for example, their desired frequency. This is just one of the many customizations you can add to your meal plans when you use Autoship, so customers can get a better overall experience, and you can increase your chances of selling more products in the same session.
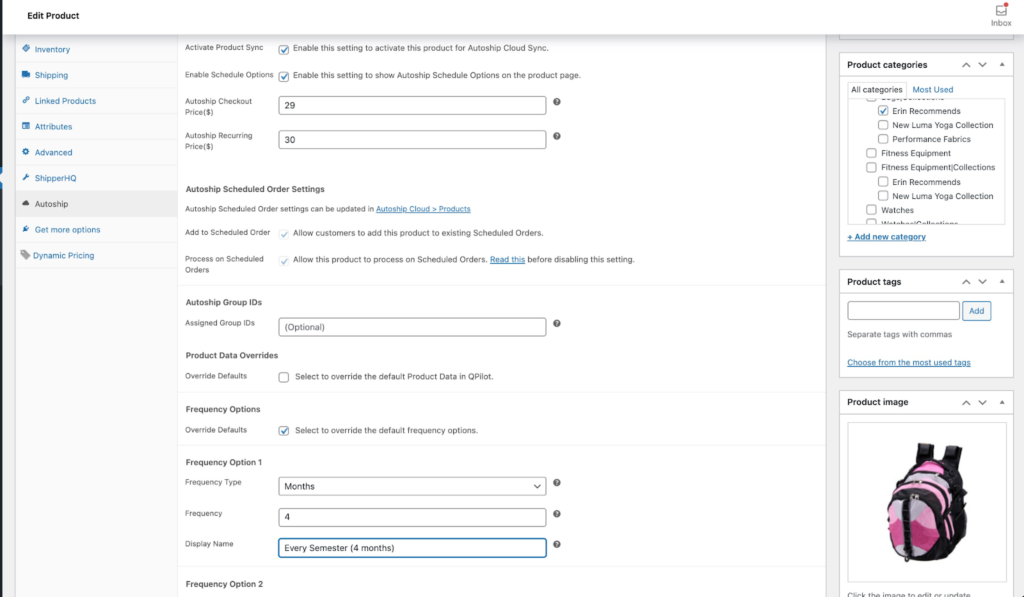
Image Alt: Autoship’s single product settings (source)
Supporting Multiple Payment Options
The more options you can give your customers to pay for their subscriptions, the easier it will be for them to sign up for your meal plans. Autoship Cloud supports several payment gateways, including Stripe, Paypal Checkout, NMI, Paya, Square Payments, Braintree, and more. An increase in repeat orders and subscriptions will naturally create a more considerable cash flow.
Offering Different Shipping Rates
If you want to incentivize customers to purchase your meal plans, you can offer them different shipping options when they checkout. You can do this in a number of ways, the easiest one being the “Add the Autoship Free Shipping Method to Checkout” in your Autoship Cloud settings tag. Other options include free shipping when purchasing orders over $50, a flat rate for large items, and several customizable combinations.
Conclusions
With subscription businesses growing in popularity each day, it’s no surprise offering WooCommerce meal plans has become easier than ever. The Autoship Cloud plugin allows you to convert any of your existing products into a subscription using a simple upsell option. The platform also makes it very effortless for your customers to edit their scheduled orders, and you can offer coupons and discounts.
Autoship Cloud supports more than ten popular payment gateways and has a robust inventory forecasting and event logs tools suite. Send email notifications, inspect customer metrics, and control your entire revenue, all from the same powerful dashboard. Try Autoship Cloud today with a 14-day free trial.
Grow Subscriptions with Autoship Cloud
Mission Farms migrated to Autoship Cloud powered by QPilot so that they could offer a better experience for their existing Subscribers, reduce the overhead of plugins + code needed to manage subscriptions with their online store, and work with a partner that knows how to support growing their subscription revenue. Since their migration in July of 2022, Mission Farms has improved their Active Subscriber count 52% and grown Subscription Revenue over 62%!
Ready to grow your subscription revenue?
Explore related to Ecommerce Tips