Do you want to make recurring payments as easy as possible for your customers?
Automatic recurring payments are a great way to generate recurring revenue. If your business is based on a subscription model, they are essential for long-term success. Recurring billing increases sales, reduces your staff’s workload and improves retention. While they are most useful to subscription or membership-based businesses, you can offer memberships with recurring payments in essentially any business.
While it’s clearly ideal to have a recurring payment system, there are a few things worth considering when you’re in the stages of setting one up. In this article, we will explore how to set up recurring payments in WordPress, the world’s largest CMS, and make them easy for your customers to do.
What are recurring payments and why should I use them?
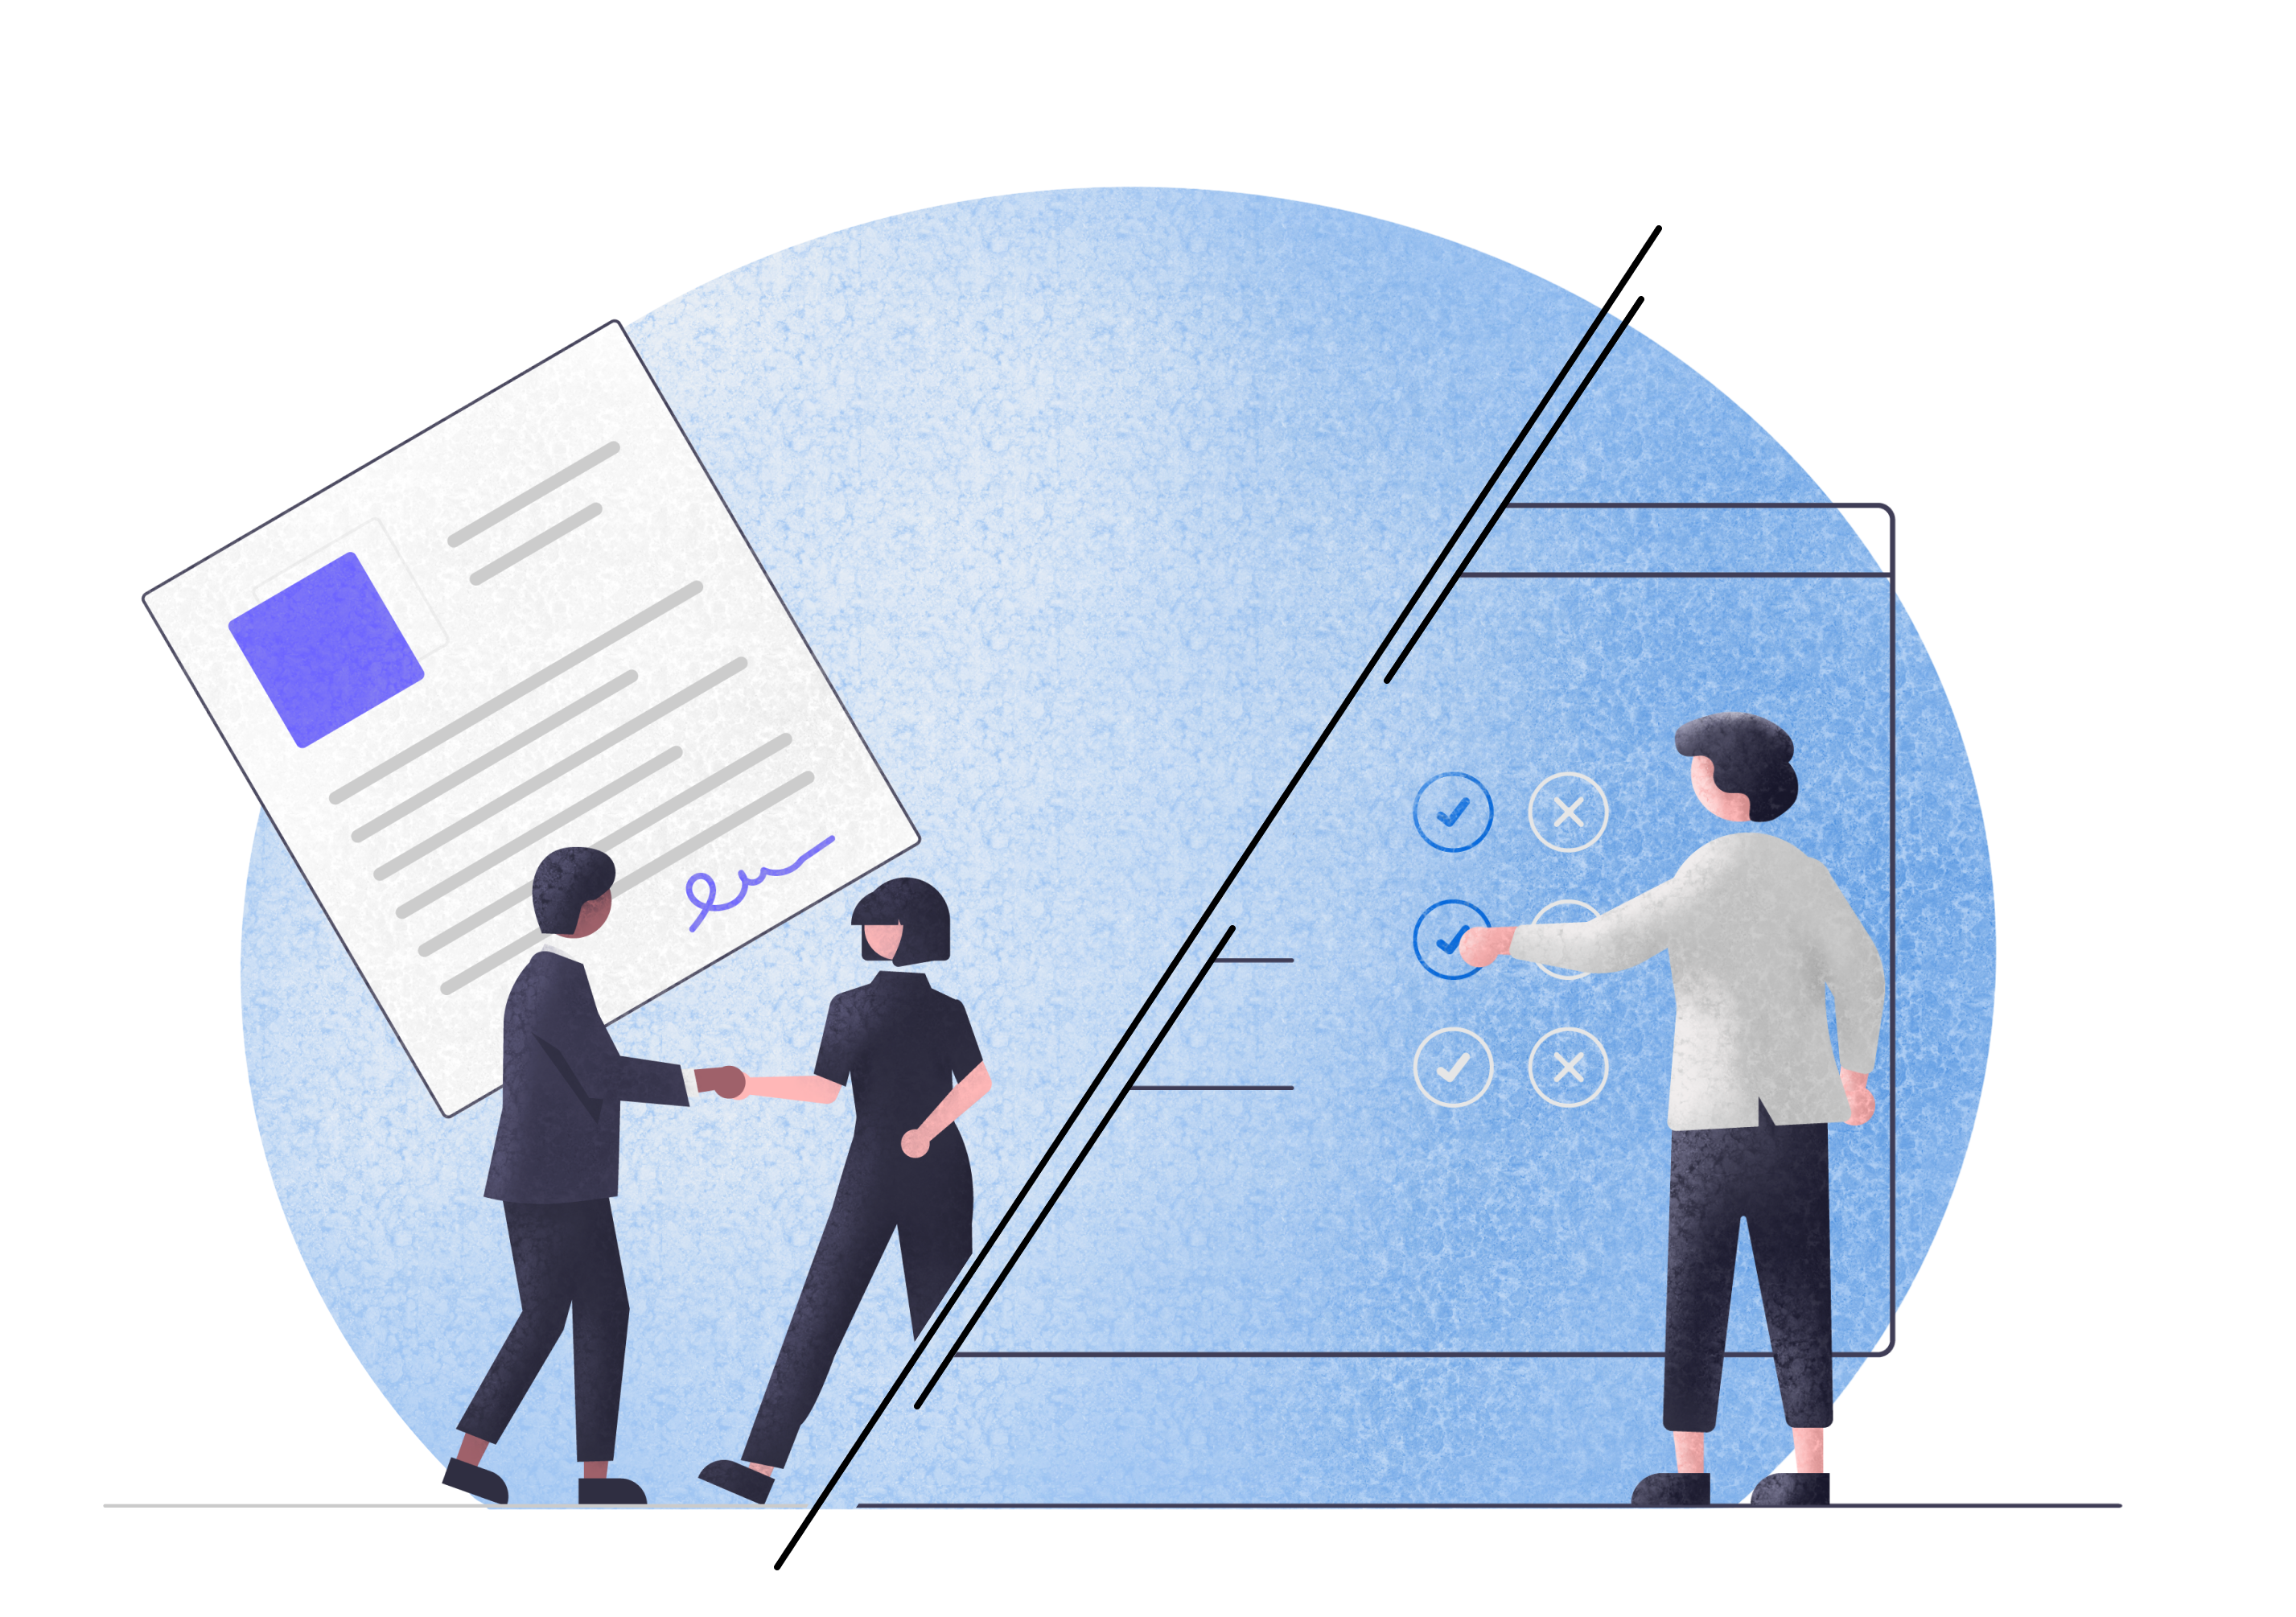
Recurring payments are automated payments that are made regularly to a merchant. Customers use a payment method, normally a credit card, and sign up to an agreement to pay you a certain amount of money at specified intervals. This usually means monthly or weekly payments are automatically sent via credit card, bank account transfer or PayPal. But there are other payment processor solutions that enable subscription billing or recurring payments, such as Stripe.
When you offer customers the option to make automatic recurring payments, you are just setting up a payment schedule for their own long-term benefit. But this simple dynamic can serve many purposes at once. Payment plans can convert one-time customers into subscribers. This will encourage them to make more purchases and will increase your average monthly income and steady your cash flow.
In addition, there are plenty of small benefits to recurring billing that can all add up for your business:
- They help you collect revenue automatically without needing to take care of payment processing
- They make it easier for customers who aren’t knowledgeable about payment options (they just agree to a payment cycle, and that’s it!)
- They’re great for certain products like SaaS apps, software subscriptions, etc. where ongoing access is the product/service you’re selling
- They help you create upsell opportunities
- They allow customers to go through one checkout opportunity and then be lazy after that
How can I enable automatic recurring payments on my WordPress website?
Unfortunately, WordPress does not offer the functionality for recurring payments by default. You will need to install a plugin to your site to enable them. Fortunately, there are many plugins that you can use for this exact purpose.
WordPress plugins for automatic recurring payments are numerous and vary in quality. It pays to use the most easy-to-use, hassle-free plugins that are inclusive of the most payment solutions. They should accept major credit cards first and foremost, but debit cards, ACH, PayPal, and other gateways are also important.
We recommend using Autoship Cloud as your recurring payment solution for WordPress. The tool simply checks all the boxes for an automatic recurring payment solution:
- Hassle-free and easy to use
- Makes it easy to set up a new subscription model
- Supports a wide variety of payment methods
- Reasonably priced
Payment methods
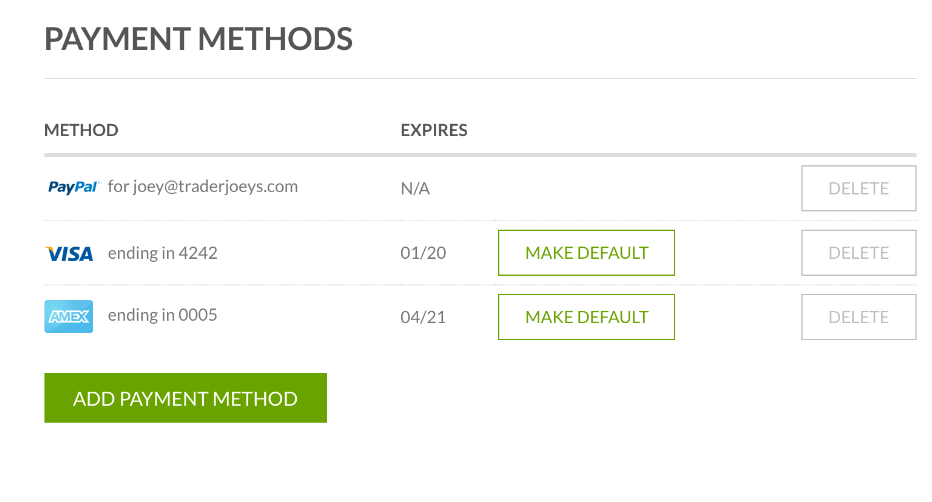
Autoship Cloud gives you all the functions you need to create, manage, and scale a subscription or membership business. It comes with built-in integrations with many payment gateways:
- Stripe
- Authorize.Net!
- PayPal Checkout
- NMI
- Paya
- Square Payments
- Braintree
- More…
What do customers value the most?
Customers have shared how they value the engagement Autoship Cloud provides. You can keep things interesting with a subscription “upsell”, offering subscriptions to new customers. You can also create a personalized subscription experience manually and personalize coupons. If you find any of the above too difficult to do, the Autoship Cloud support team will walk you through the product step-by-step.
The main outcomes that make the plugin so popular surround increased revenues. An increase in repeat orders and in subscriptions naturally creates a steady cash flow. But one factor that can’t be overlooked is the user interface (UI). Autoship Cloud offers better navigational UI to your customers, who can easily manage their orders, including editing delivery schedules.
Grow Subscriptions with Autoship Cloud
Mission Farms migrated to Autoship Cloud powered by QPilot so that they could offer a better experience for their existing Subscribers, reduce the overhead of plugins + code needed to manage subscriptions with their online store, and work with a partner that knows how to support growing their subscription revenue. Since their migration in July of 2022, Mission Farms has improved their Active Subscriber count 52% and grown Subscription Revenue over 62%!
Ready to grow your subscription revenue?
Autoship Cloud uses
Let’s look at a few of the ways typical Autoship Cloud customers apply these solutions to improve their businesses.
Simple Upsells
The typical upsell is the addition of a “subscribe” option in the customer’s shopping cart. This leads to making the purchases recurring according to an agreed-upon schedule.
Using the “Subscribe with Schedule” option, subscribers choose their billing cycles from within the shopping cart itself. They can then make schedule changes for upcoming orders whenever they feel it’s necessary.
WooCommerce
A store owner using WooCommerce, the massive eCommerce platform, can apply these solutions directly using the WC Autoship for WooCommerce plugin. This plugin comes with WC Auto-Ship, a complete solution for WooCommerce stores.
Customer email notifications with SendGrid
A built-in integration with SendGrid enables Autoship Cloud users to set up automatic email notifications for upcoming deliveries. It includes other useful notices such as “changeable before” order notices and payment details.
Businesses can use this integration to personalize the customer’s experience. Show customers you care but do it the smart way, automatically!
Autoship Link Builder
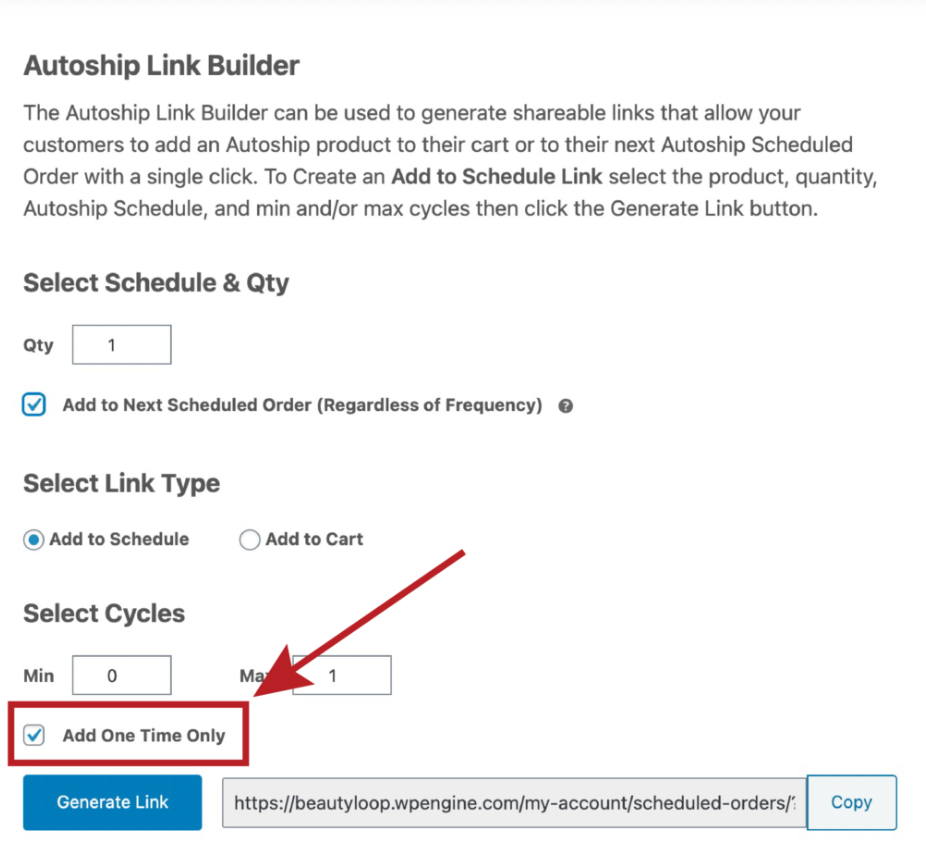
Autoship Link Builder is a no-code solution that enables you to create a link to any of your products. When customers click on the link, the item is added to their scheduled order.
Using marketing campaigns, you can apply the feature to increase your average order size. You can offer single-use or subscription products to reduce friction for upsells.
Reporting
Autoship Cloud comes with thorough reporting and analytics for:
- Inventory (and inventory forecasting)
- Customer metrics
- Event logs
- Revenue dashboard
Case Study
Using these tools, Autoship Cloud managed to grow Herbsmith’s repeat orders by 150%.
To reach this result, they started with Autoship cloud’s flagship feature: recurring shipments. Customers were enabled to sign up for repeat deliveries of pet food products. Pup and kitten products are normally purchased on a regular basis by pet owners, so the feature enables Herbsmith to take full advantage of this fact.
The link builder then allowed them to create custom links to quickly add items to the shopping cart as part of scheduled orders. According to Herbsmith, their clients leveraged the feature to help their own customers get the products they regularly want, normally on a monthly basis. Herbsmith then took it further, adding links that add multiple applicable products to the cart at once, encouraging customers to enhance their repeat purchases.
Lastly, Herbsmith used the curation feature to:
- Enable new site visitors to take a quiz about their pets’ medical and dietary needs
- Take note of their responses
- Have a real person review the data
- Provide expert recommendations based on a pet’s unique needs
- Create a custom link to include all recommended products with a single click
- Send an email explaining the recommendations
- Have the customer review all the above before making a purchase
This powerful combination leveraged some of Autoship Cloud’s key features to maximize recurring sales. This was possible because:
- It was used to provide extraordinary service
- Customers got expert advice and explanations
- Customers had the easiest experience acquiring the most possible useful products
- Customers could then modify orders manually as needed
- It created a great experience that eliminated most cases of buyer’s remorse
Grow Subscriptions with Autoship Cloud
Mission Farms migrated to Autoship Cloud powered by QPilot so that they could offer a better experience for their existing Subscribers, reduce the overhead of plugins + code needed to manage subscriptions with their online store, and work with a partner that knows how to support growing their subscription revenue. Since their migration in July of 2022, Mission Farms has improved their Active Subscriber count 52% and grown Subscription Revenue over 62%!
Ready to grow your subscription revenue?
AutoShip Cloud setup guide
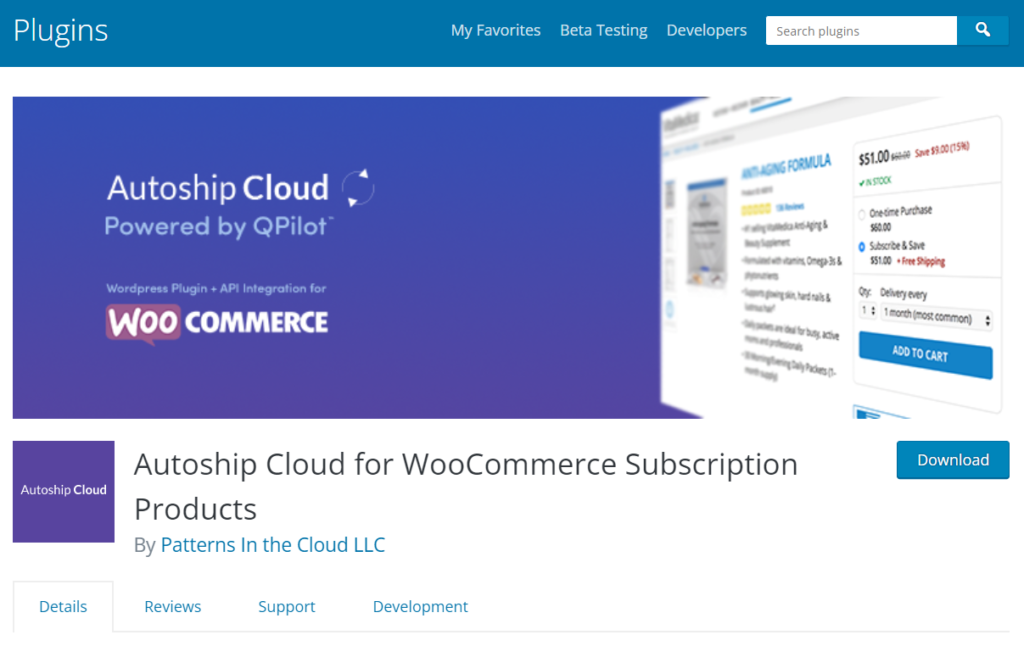
First, you will need to download or install the Autoship Cloud plugin for WordPress.
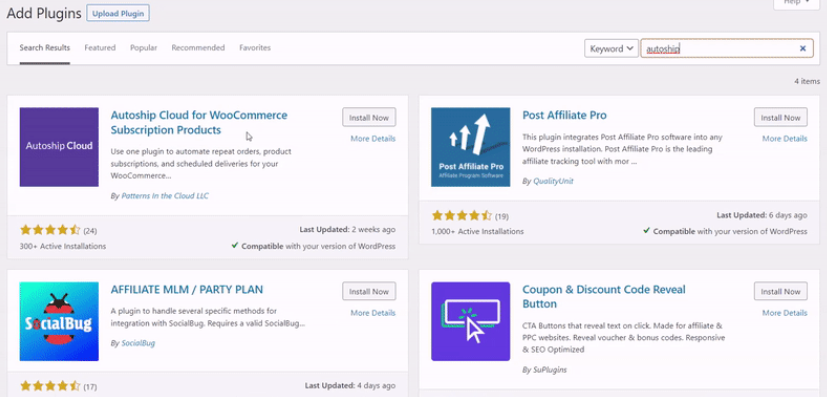
You will need to search for and add the Autoship Cloud plugin from the plugins page. Search “Autoship” and it will show up. Locate it and click “Install now”.
Alternatively, you can download the plugin by clicking the blue “download” button and install it on your site directly.
Next, you will need to confirm that Autoship Cloud is active in WP-Admin > Plugins > Installed plugins.
Next, connect Autoship Cloud to your hosted cloud service, Qpilot. You will need a Qpilot account, which can be set up in minutes.
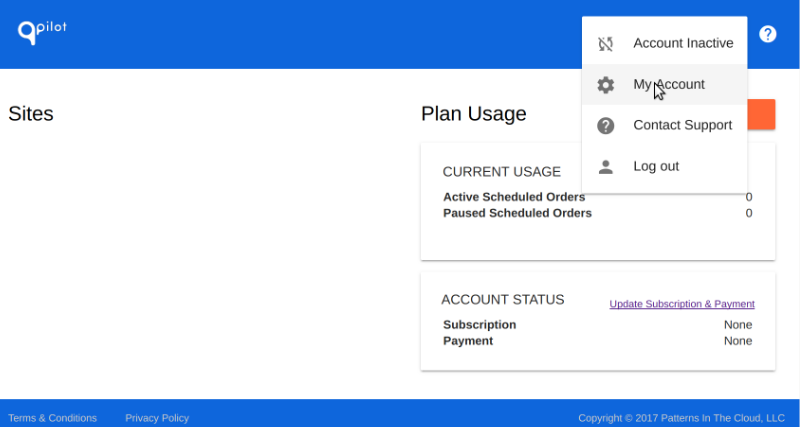
When you navigate into “My Account” you will need to go to the “Apps” tab.
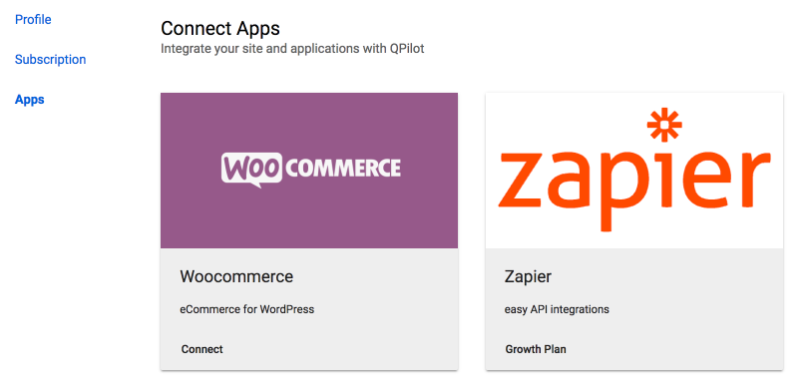
Find the WooCommerce tab and click “Connect”. You will be prompted to generate a new key. You will receive a Client ID and Client Secret, which are for security purposes.
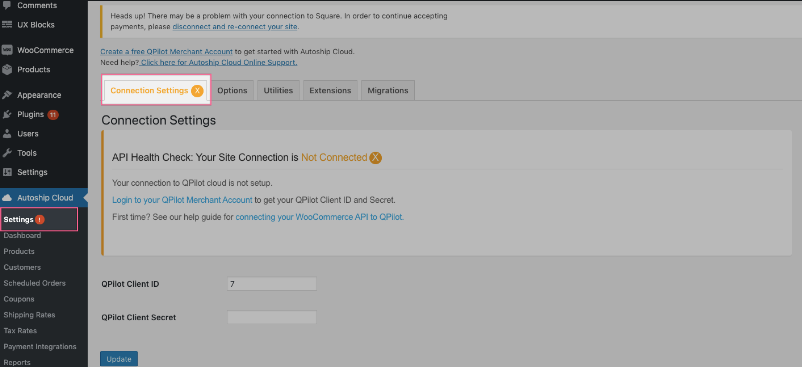
Next, connect your Autoship Cloud to your Qpilot account. This is done under the Settings tab of the Autoship Cloud tab on WordPress. It will appear as:

You will be prompted to enter your Client ID and Client Secret. Click “Update” once you’ve filled them in. You will see the blue update button at the bottom of your screen.
Next, log into your Qpilot account so you can grant access for your site to be connected to it. Click the blue “Grant Access” button. This should prompt a message informing you that Autoship Cloud is connected.
At this stage, you can start enabling products for Autoship and using the program’s features. There are 3 more steps to enable products for Autoship Cloud:
- Activating product sync
- Enabling schedule options
- Autoship scheduled order settings
The first step is needed to enable WooCommerce products to sync with Autoship Cloud’s hosted service. Once synced, the product can be added to Autoship’s scheduled orders.
Go to the “Products” tab and check the second box under “Autoship Options”:
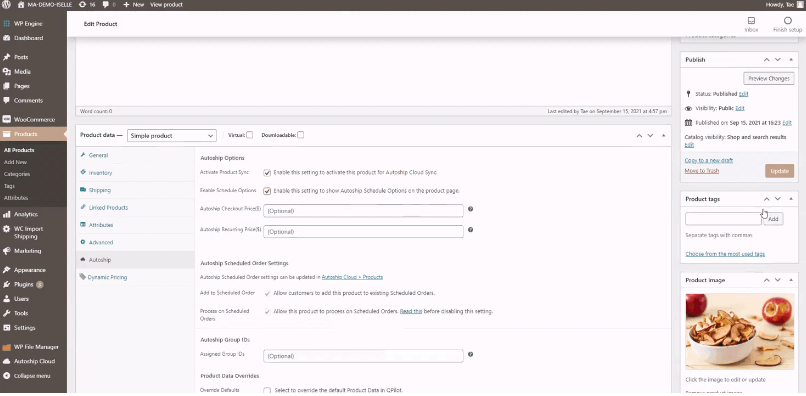
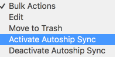
As Admin, go to the WooCommerce Products screen. This is found in WP-Admin > Products. Edit the WooCommerce product you want to be enabled for Autoship. Go to the Autoship tab and enable “Activate Product Sync” with the checkbox. Once you’re done, select “Update” again. Pro tip: you can activate products in bulk by using the bulk actions tab to click “Activate Autoship Sync ” and select “Apply”.
On your WooCommerce products page, you can edit the WooCommerce product you want to be enabled for Autoship. Use the “Autoship” tab and make sure “Activate Product Sync” is enabled. Then, select “Enable Schedule Options”. This adds scheduling options to the product page.
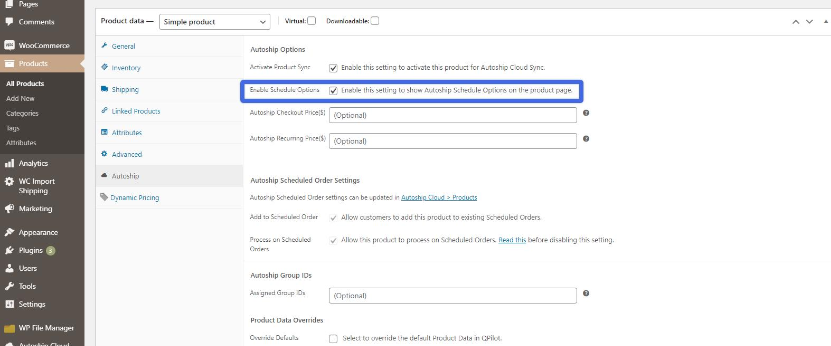
Again, click the “Update” button to confirm these changes.
Now for the last step…
Go to “Autoship Cloud > Products” and find the “Availability” column. Ensure each product you want ready for scheduled orders is checked off for “Add to Scheduled Order”.
Once you’ve added all relevant products (you can always edit for more products later!), they will be ready for Autoship.
Conclusion
Automatic recurring payments lend themselves to one of the most powerful tools in business: customer retention. Repeat business is amazing for any company’s bottom line. It’s also a simple result to achieve thanks to online marketing tools.
In terms of the tools you can use to make recurring payments a breeze, we recommend the Autoship Cloud WordPress plugin.
Autoship Cloud enables you to create scheduled orders without changing any of your store’s existing products or checkout processes. It fits into your existing infrastructure and enhances it.
You can use Autoship Cloud to create custom subscription plans. All it takes is a single click by the customer at checkout to start creating an automatic billing process for recurring shipments. You can use customized incentives to make this more attractive to them, such as exclusive items and discounts or free shipping. You can also opt to restrict free shipping to auto-ship items, which works well if you want to capture customers who require individual items shipped regularly instead of subscriptions. This customization makes it easy to fit these features into any existing business model.
Click here to download the Autoship Cloud plugin
Grow Subscriptions with Autoship Cloud
Mission Farms migrated to Autoship Cloud powered by QPilot so that they could offer a better experience for their existing Subscribers, reduce the overhead of plugins + code needed to manage subscriptions with their online store, and work with a partner that knows how to support growing their subscription revenue. Since their migration in July of 2022, Mission Farms has improved their Active Subscriber count 52% and grown Subscription Revenue over 62%!
Ready to grow your subscription revenue?
Explore related to Ecommerce Tips